
Blueberry Ginger Morning Smoothie
/
Want a delicious, summery breakfast smoothie? Try this smoothie with blueberry, ginger, apple and peach. It's called a Hot Ginger.
Read MoreWant a delicious, summery breakfast smoothie? Try this smoothie with blueberry, ginger, apple and peach. It's called a Hot Ginger.
Read More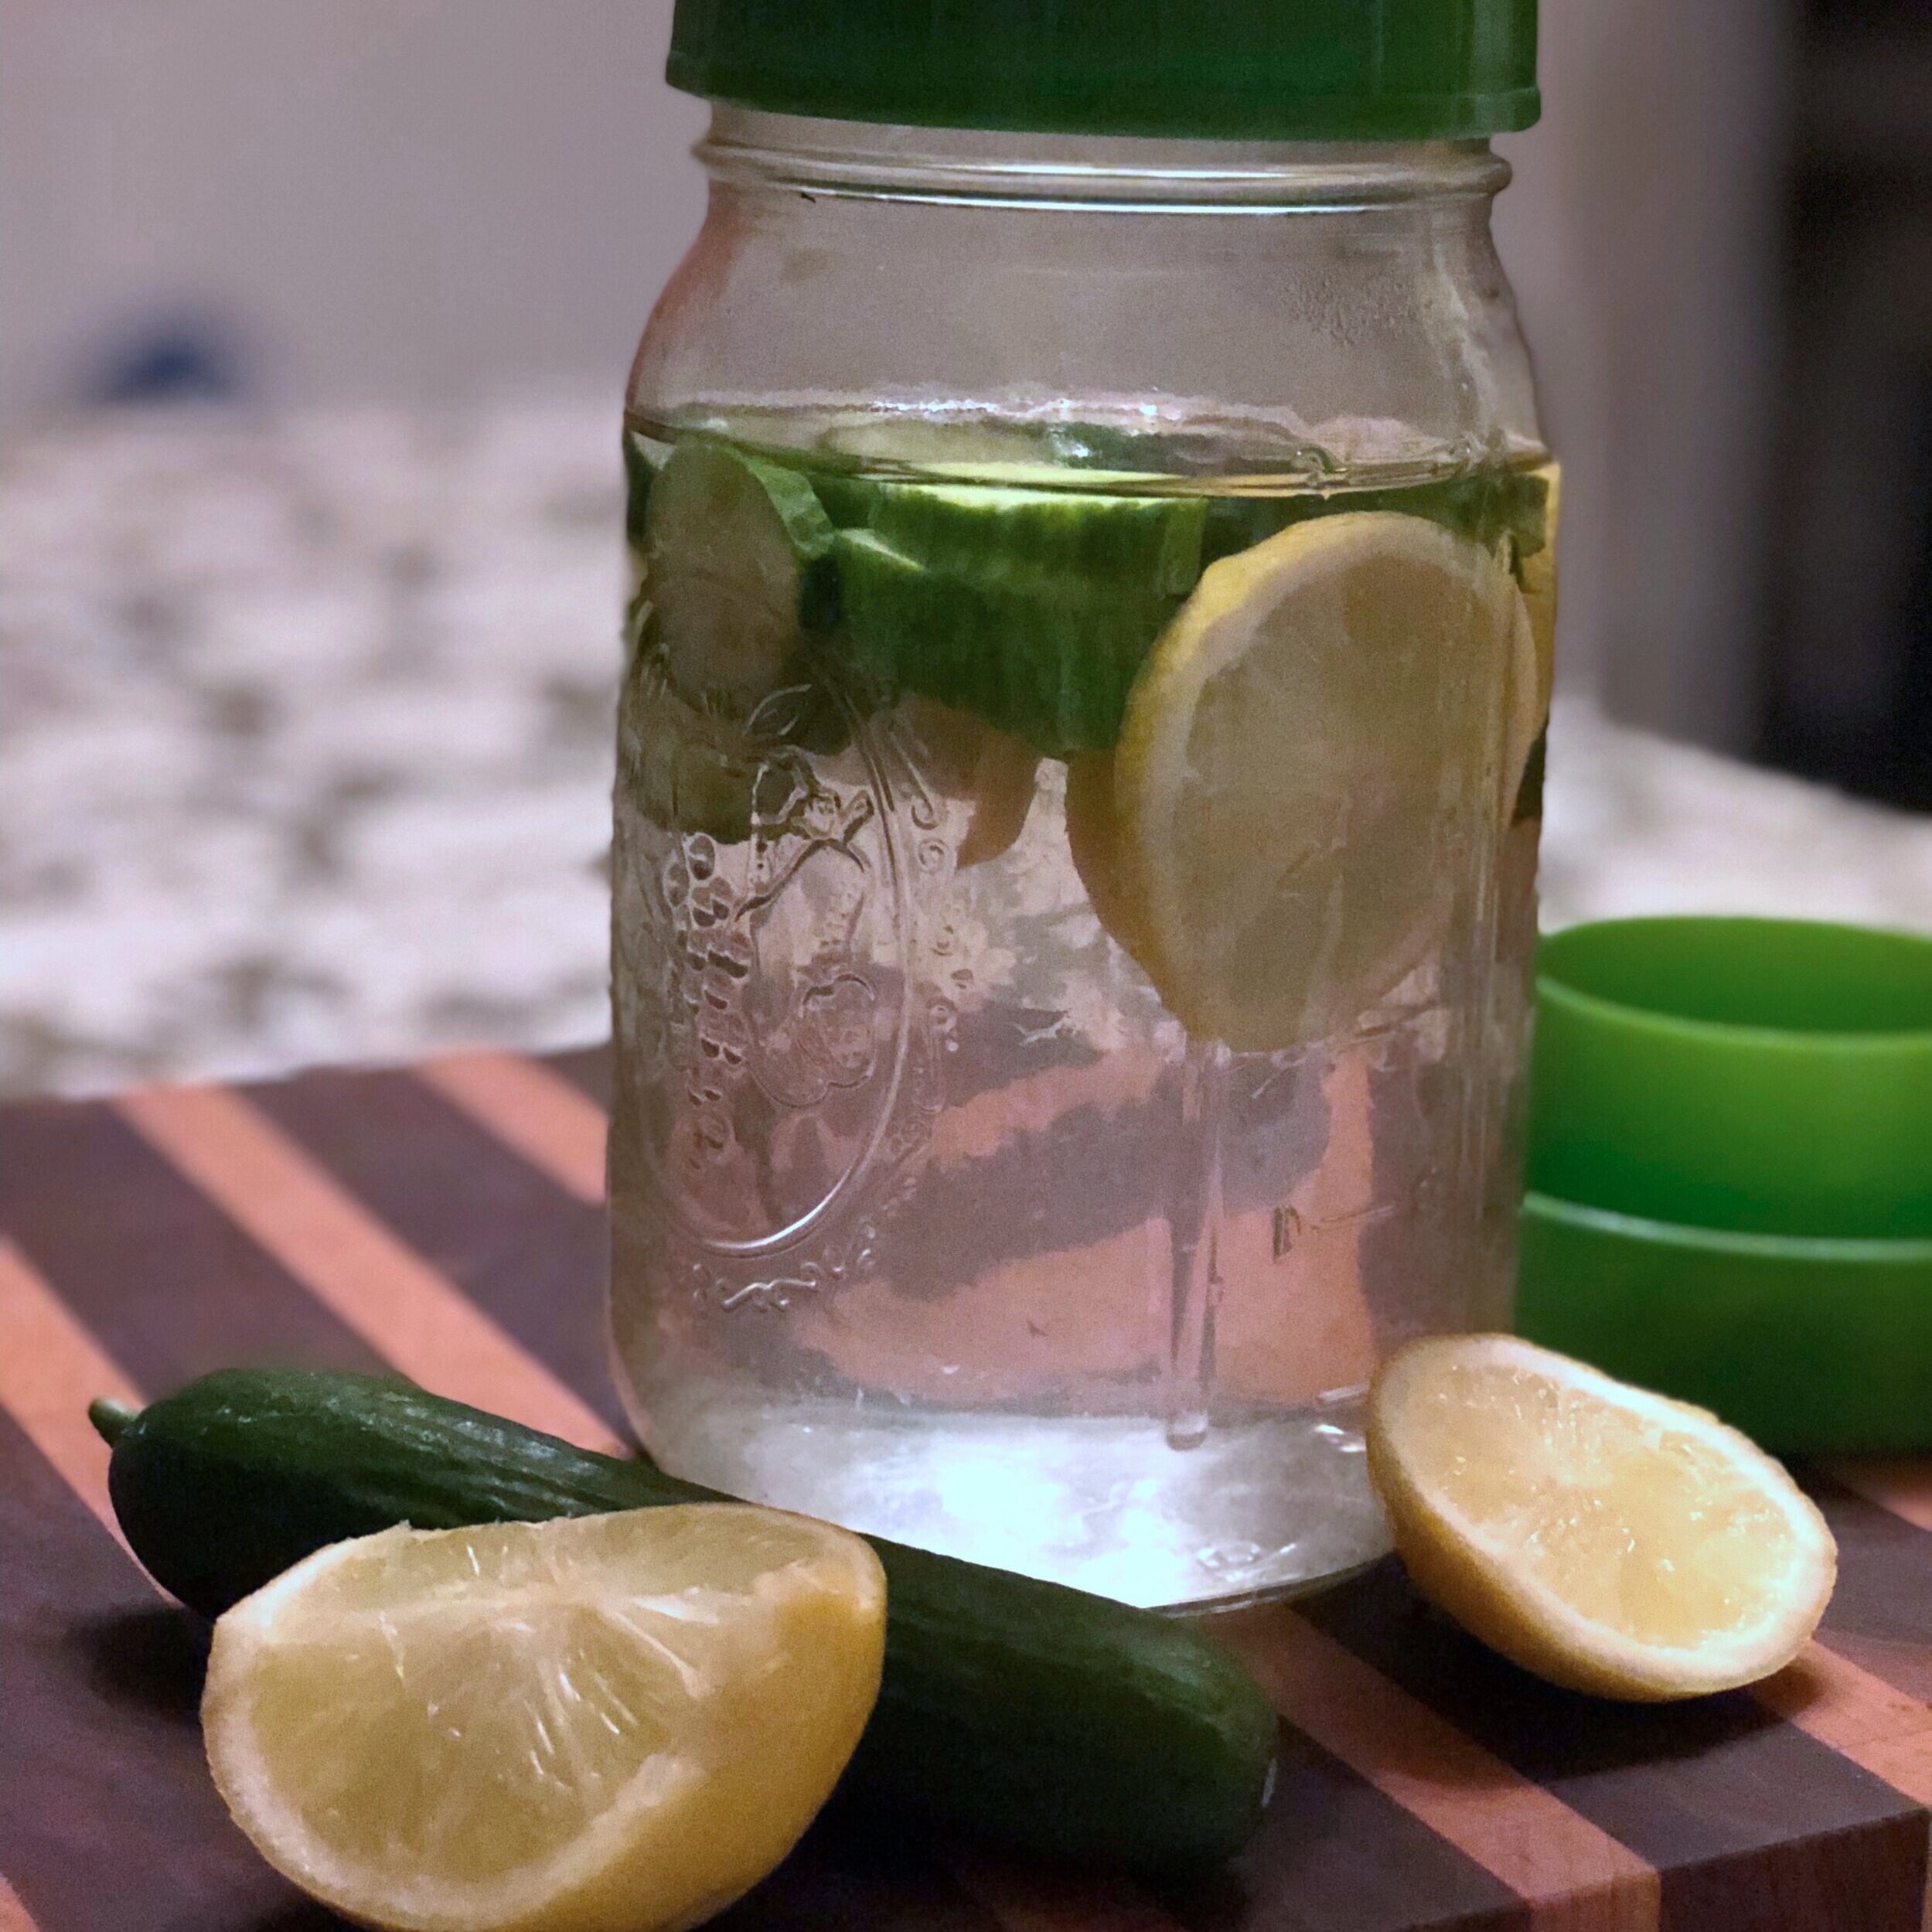
The other day my kids took over the kitchen to make infused water. 💦 💧 They chopped up organic lemons and cucumbers. We don’t drink juices, sodas or other sweetened beverages, so for them it was an opportunity to try something tasty and refreshing that was not plain water.

What are the benefits of infusing your own water?
You get to:
Choose your own fruits, veggies and herbs to infuse
Naturally consume more vitamins, minerals and antioxidants while you drink water.
Keep yourself hydrated by encouraging you to drink more water overall
Why is this SO MUCH HEALTHIER than simply purchasing a store-bought flavored water?
It is best to avoid most commercial infused-water brands such as Bai (“water infused with flavor”), LaCroix and Bubly.
They:
Contain “natural flavors” (which are not so healthy and the subject of several lawsuits) and other additives
Are made from some form of purified water (as opposed to spring water)
Come in plastic or aluminum containers (which are wasteful) and, in the case of the cans, usually contain BPA
When you infuse your own water, there are no natural flavors, preservatives, added sugar or BPA (in the cans).
You can chose your own flavor and nutritional profile to make it fit your needs.
And you can also choose your own water: if you prefer spring water, reverse-osmosis water or even Brita-filtered tap water, at least you know what you are getting.
Choose your own fruits, veggies and herbs to infuse.
Chop up the fruits and vegetables.
Grab a 32-oz (or larger) mason jar and fill with water.
Drop the fruits, veggies and herbs into the water.
Cover and leave in the fridge overnight, for up to 12 hours.
We purchased a spout to fit the mason jar so the water doesn’t spill when we pour it.
There’s no reason to buy an infuser. The only benefit is that it keeps the flavor elements from mixing with the drinking water.
And there’s no reason to buy flavored water in the store.
Save the money. You can make this yourself. It’s much healthier.
ACTIVE PREP TIME: 5-10 MIN
PASSIVE PREP TIME: 30 MIN
When I was in college, I was addicted to Hawaiian Punch fruit punch. I would purchase it from the vending machine in my dormitory and drink it almost every day. Little did I know how dreadfully unhealthy this punch was – and how much refined sugar, artificial flavors and synthetic colors it contained!
Here are the ingredients for Hawaiian Fruit Punch Juicy Red, the flavor that I most likely drank in the early 1990s:
Water, High Fructose Corn Syrup, And Less Than 2% Of: Concentrated Juices (apple, Clarified Pineapple, Passionfruit, Orange), Fruit Purees (apricot, Papaya, Guava), Ascorbic Acid (vitamin C), Citric Acid, Natural And Artificial Flavors, Pectin, Acacia Gum, Ester Gum, Red 40, Blue 1, Sucralose, Potassium Sorbate And Sodium Hexametaphosphate (preservatives).
I won’t bore you with the reasons why most of these ingredients are junk. This is just common sense.
But there is a much more sensible, healthy and consciously kosher way to make a fruit punch that is reminiscent of that treacly Hawaiian Fruit Punch Juicy Red.
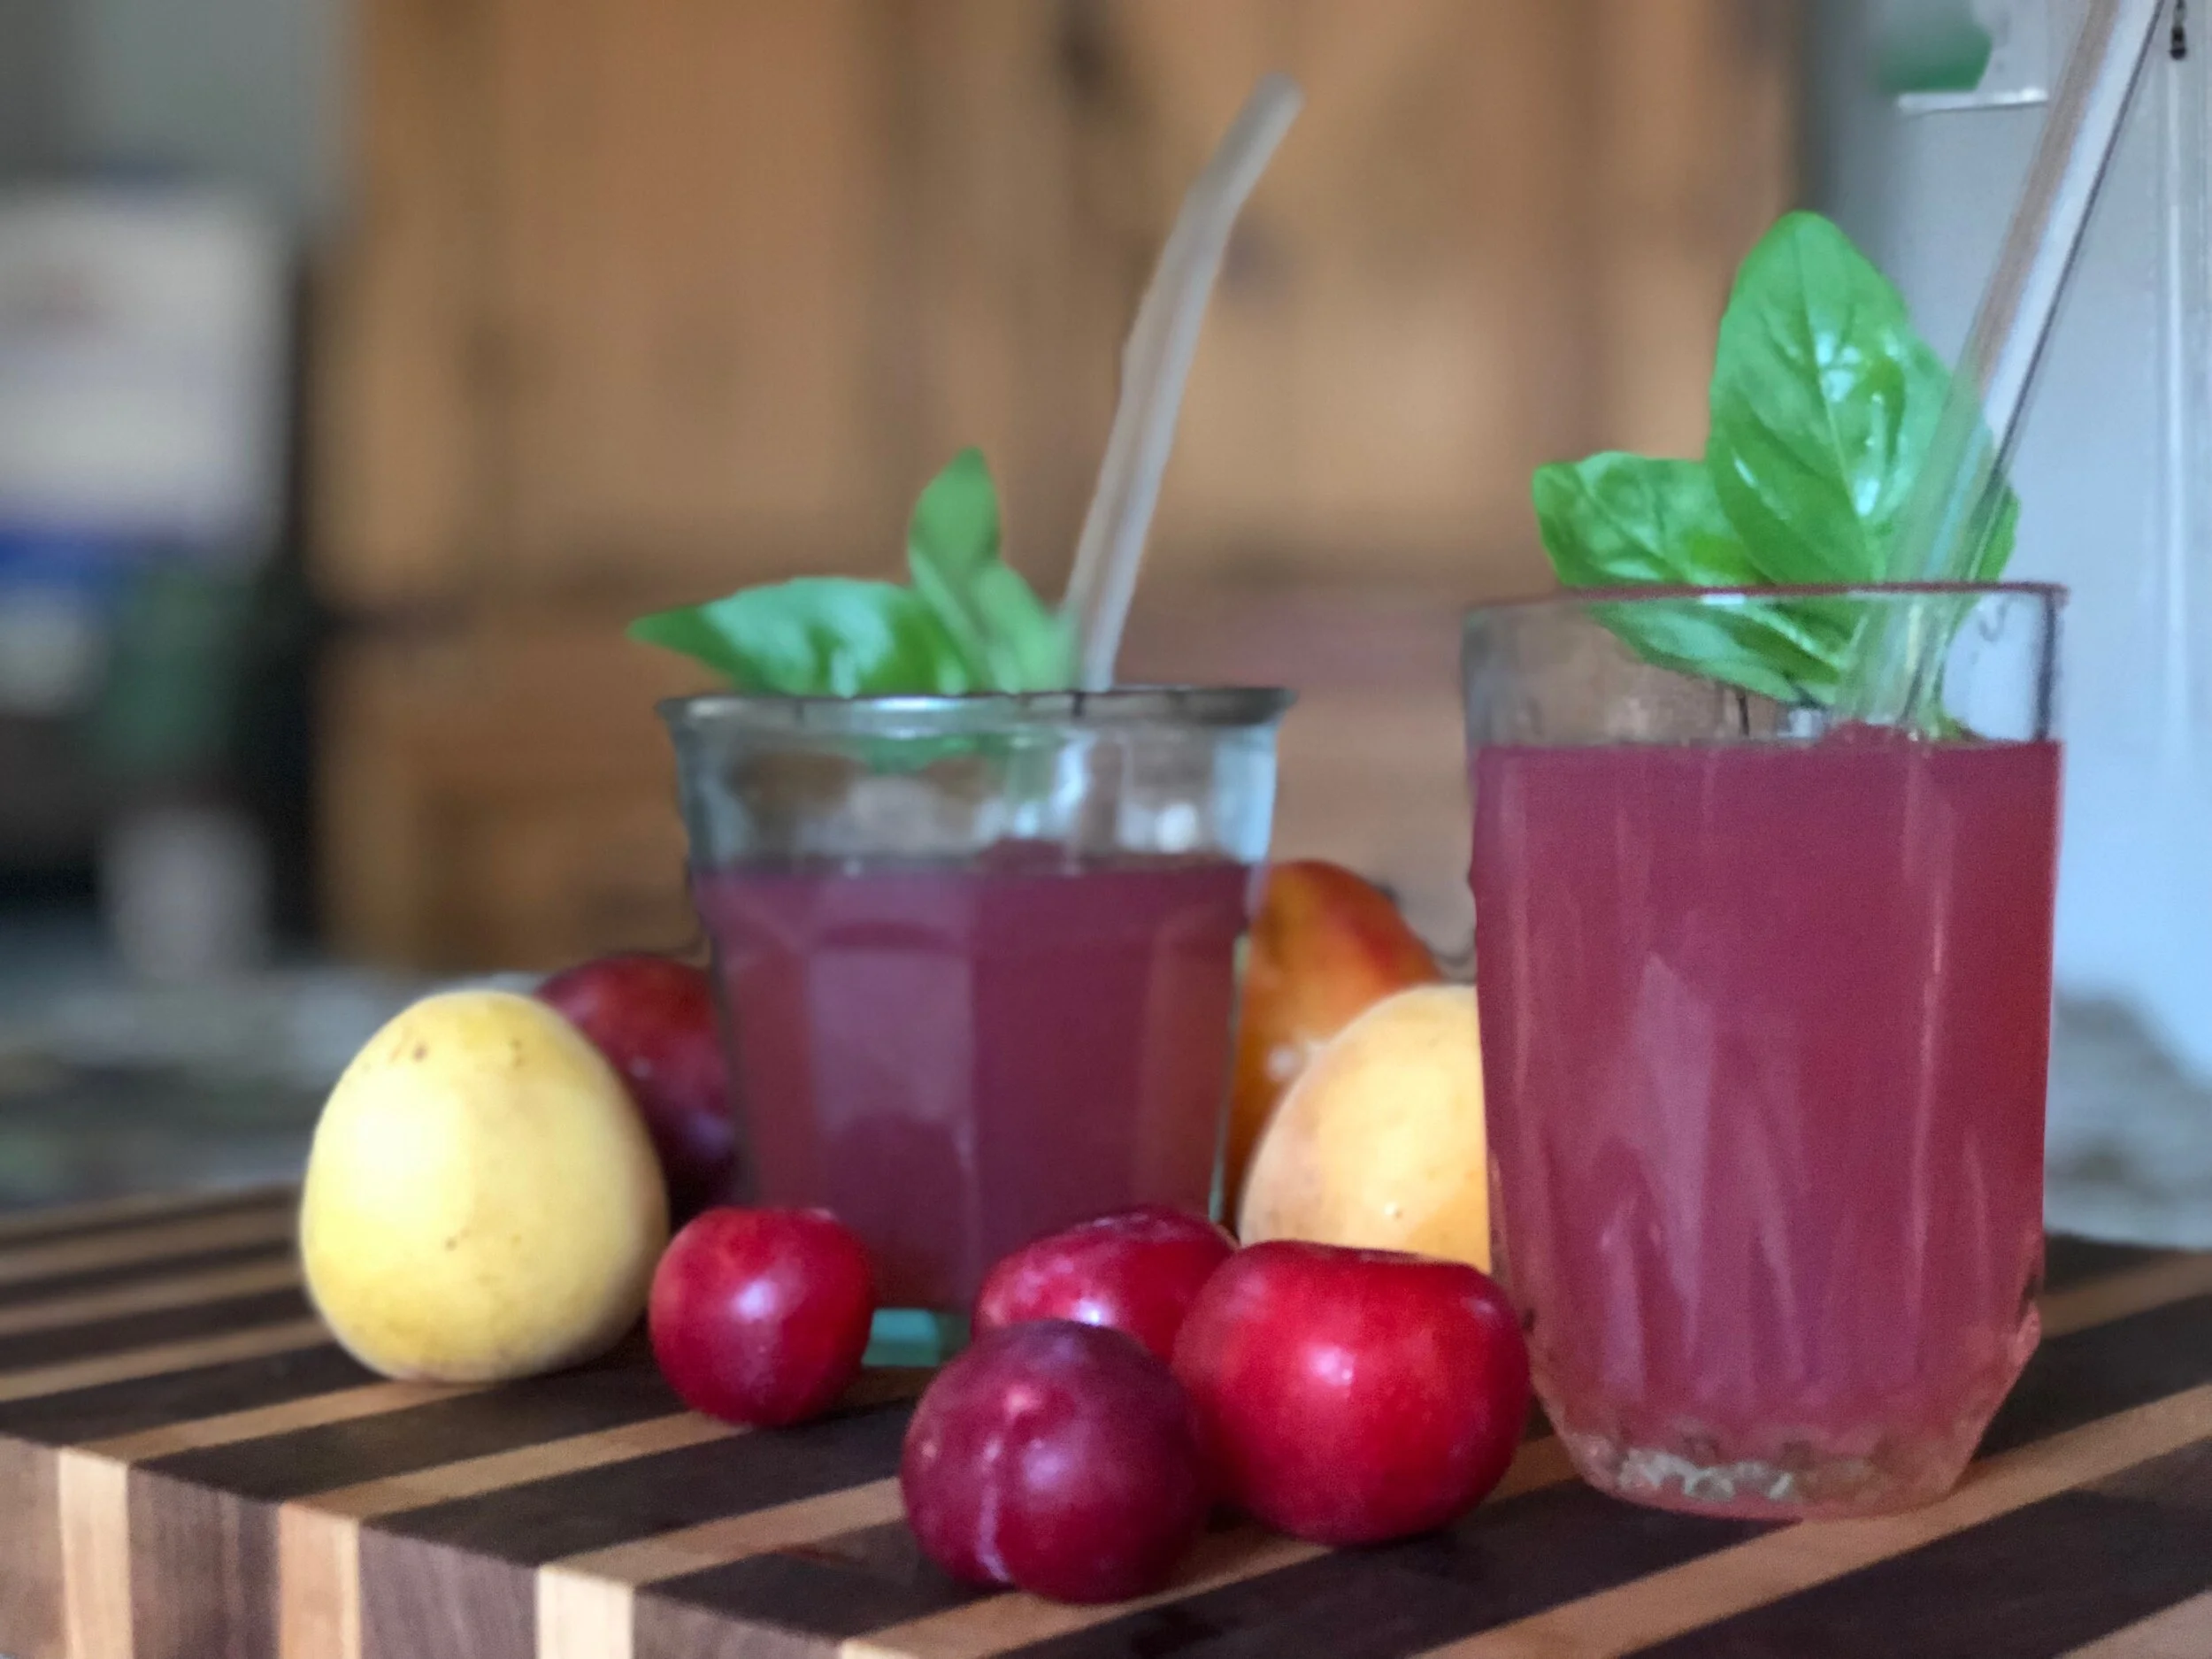
Homemade fruit punch is refreshing and nutritious. It is also incredibly simple to make. And it comes from a source hidden in plain view within your fridge: The overabundance of fruits that sneak up on us each week.
In my fridge this week, we’ve got apples, nectarines, peaches, even a few squishy pluots and apricots. Rather than allowing all that delicious organic fruit to ripen too much and then throwing it away, why not cook it into what the Eastern Europeans call kompot? This refreshing homemade beverage is quite popular in Eastern Europe and the Slavic countries. It is made by boiling the fruit in water, then straining and drinking the infused syrupy liquid.
There are two major benefits to making your own Hawaiian Punch fruit punch, a.k.a. kompot:
It’s a super-healthy and refreshing alternative to sodas, store-bought fruit juices, sweetened juice-like beverages and other sugary drinks
It’s eco-conscious, as you avoid throwing away fruit that has gotten too ripe to eat fresh
In addition, there are various vitamins and minerals that get transferred from the fruit to the water, including vitamin C, antioxidants, magnesium and potassium. These of course will vary by the fruits that you choose to cook.
The ingredients are approximate.
1/2 gallon water (filtered or spring)
3 large Ceylon cinnamon sticks
1 tsp vanilla extract
1/8 tsp ground cloves
1/8 tsp ground allspice
1/8 tsp ground nutmeg
2-3 Tbsp coconut sugar (or substitute raw honey)
6-10 ripe and pitted fruits, including but not limited to peaches, nectarines, plums, pluots, apricots, apples (Fuji or Gala), Asian pears and strawberries
Fill a large pot with water and bring to a boil
Pour in the coconut sugar and the spices
Wash the fruit well, slice it in halves (or quarters), remove the pits and/or seeds and add the fruit to the boiling water mixture
Simmer for 30-40 minutes with the lid slightly ajar, then remove from the heat and let it cool
Filter the liquid from the fruit, using a fine mesh sieve
Bottle the liquid and serve chilled
Serve the fruit with non-dairy yogurt or parve ice cream

By enormous contrast to the artificial Hawaiian Punch that I guzzled in college, the minimal amount of sugar in this beverage (it comes out to about a teaspoon for every cup of water) gives it some sweetness to complement the mild tartness of the infused liquid. In addition to adding some flavor, the sugar acts as a maceration agent to pull water, flavor and aroma out of the fruit. (Pickling, ceviche and vanilla extract work in much the same way.) The maceration process not only infuses the fruit with flavor from the water mixture; it also infuses the liquid with flavor and nutrients from the fruit. In this case, the result is a healthy Hawaiian Punch substitute.
As for the fruit that remains, it goes very well with plain cashew yogurt as a snack or a dessert.
Making a Hawaiian Punch-themed kompot supplants the need for soft drinks and fruit juice, both of which destroy teeth and spike blood sugar. This beverage consists of a few basic ingredients, all of which are natural. There are no artificial colors, flavors or preservatives, no high-fructose corn syrup and no fruit juice concentrates. And it’s wonderful for kids.
I wish I had known about this healthy Hawaiian Punch substitute when I was in college!
ACTIVE PREP TIME: 5 MIN
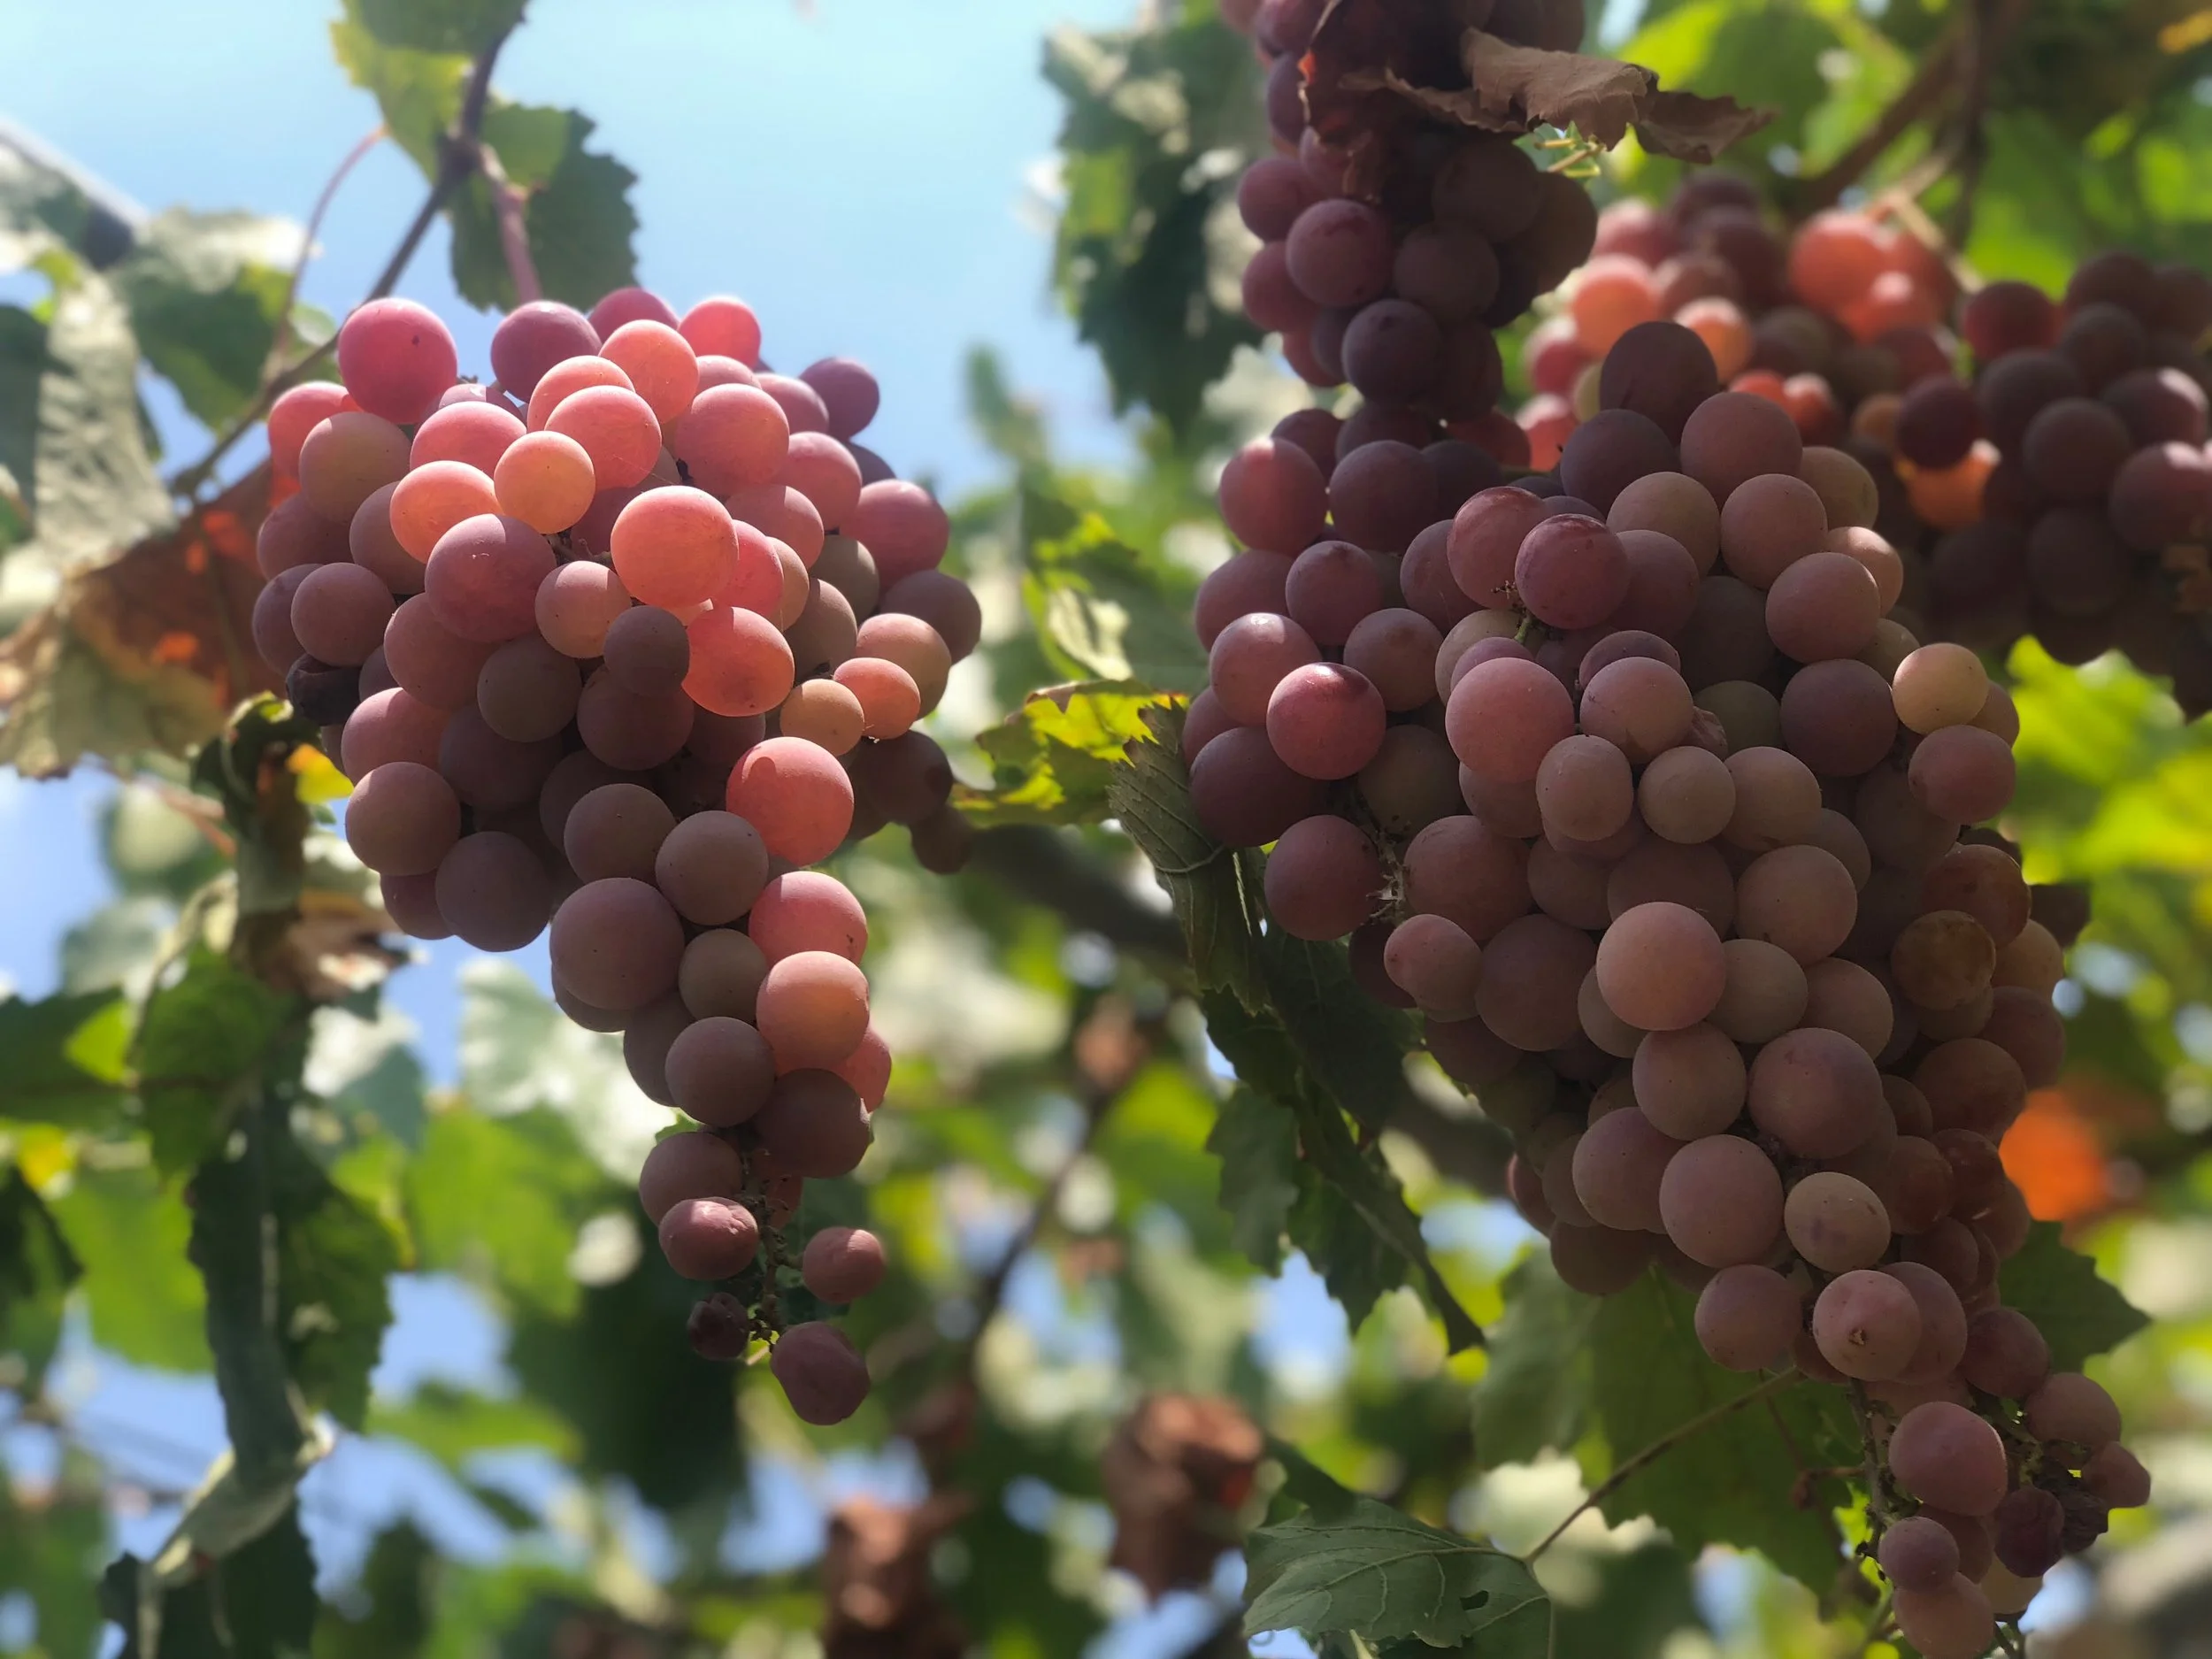
It’s almost autumn and grapes are in season again!
Drinking fresh grape juice on Shabbat is absolutely divine. I load up on the grapes starting in the late summer/early autumn when they come into season and make tons of juice. Then I freeze it in 16-ounce jars. I’ve found that drinking a cup of homemade juice is so much more pleasurable than consuming the treacly store-bought grape juice. In addition to high amounts of sugar (34g/8 oz.), the conventional Kedem grape juice contains sulfites, which I can’t tolerate. But even the organic (and sulfite-free) Kedem (35g/8 oz.) and Lakewood (36g/8 oz.) juices are intolerably sweet, although we always have a bottle or two on hand as a backup.
I switched over to homemade grape juice about two years ago. It’s tough to go back. And, like making your own Shabbat challah, it adds a lovely personal touch to the Shabbat meals that the kids look forward to each week. In contrast to the never-changing flavor of Kedem or Lakewood, making your own juice means that each batch has a slightly different flavor profile: some are more tangy, some are milder. Some are sweeter, some are lighter. You choose the grapes that you like best. Oftentimes, I let my kids decide which grapes they want in their juice.
Grape juice, when fresh, unsweetened and unfiltered, is incredibly nutritious: it contains high amounts of antioxidant compounds resveratrol and flavonoids, as well as providing dietary fiber via the seeds and the skin. Typically, the darker the grape, the more antioxidants are present. These factors contribute to maintaining healthy blood pressure and reducing LDL (“bad”) cholesterol. Grape juice is also a good source of vitamins B6, C and thiamin, in addition to manganese and potassium.
However, these same benefits are not conferred by store-bought grape juice. The grapes in that juice are mostly pulp, and have been filtered, with skin and seeds removed. Similarly, eating grapes is not the same as crushing them into grape juice. On the other hand, the high-speed blending process of making your own juice pulverizes the skin and crushes the seeds, releasing the flavonoids that are otherwise less likely to get properly metabolized.
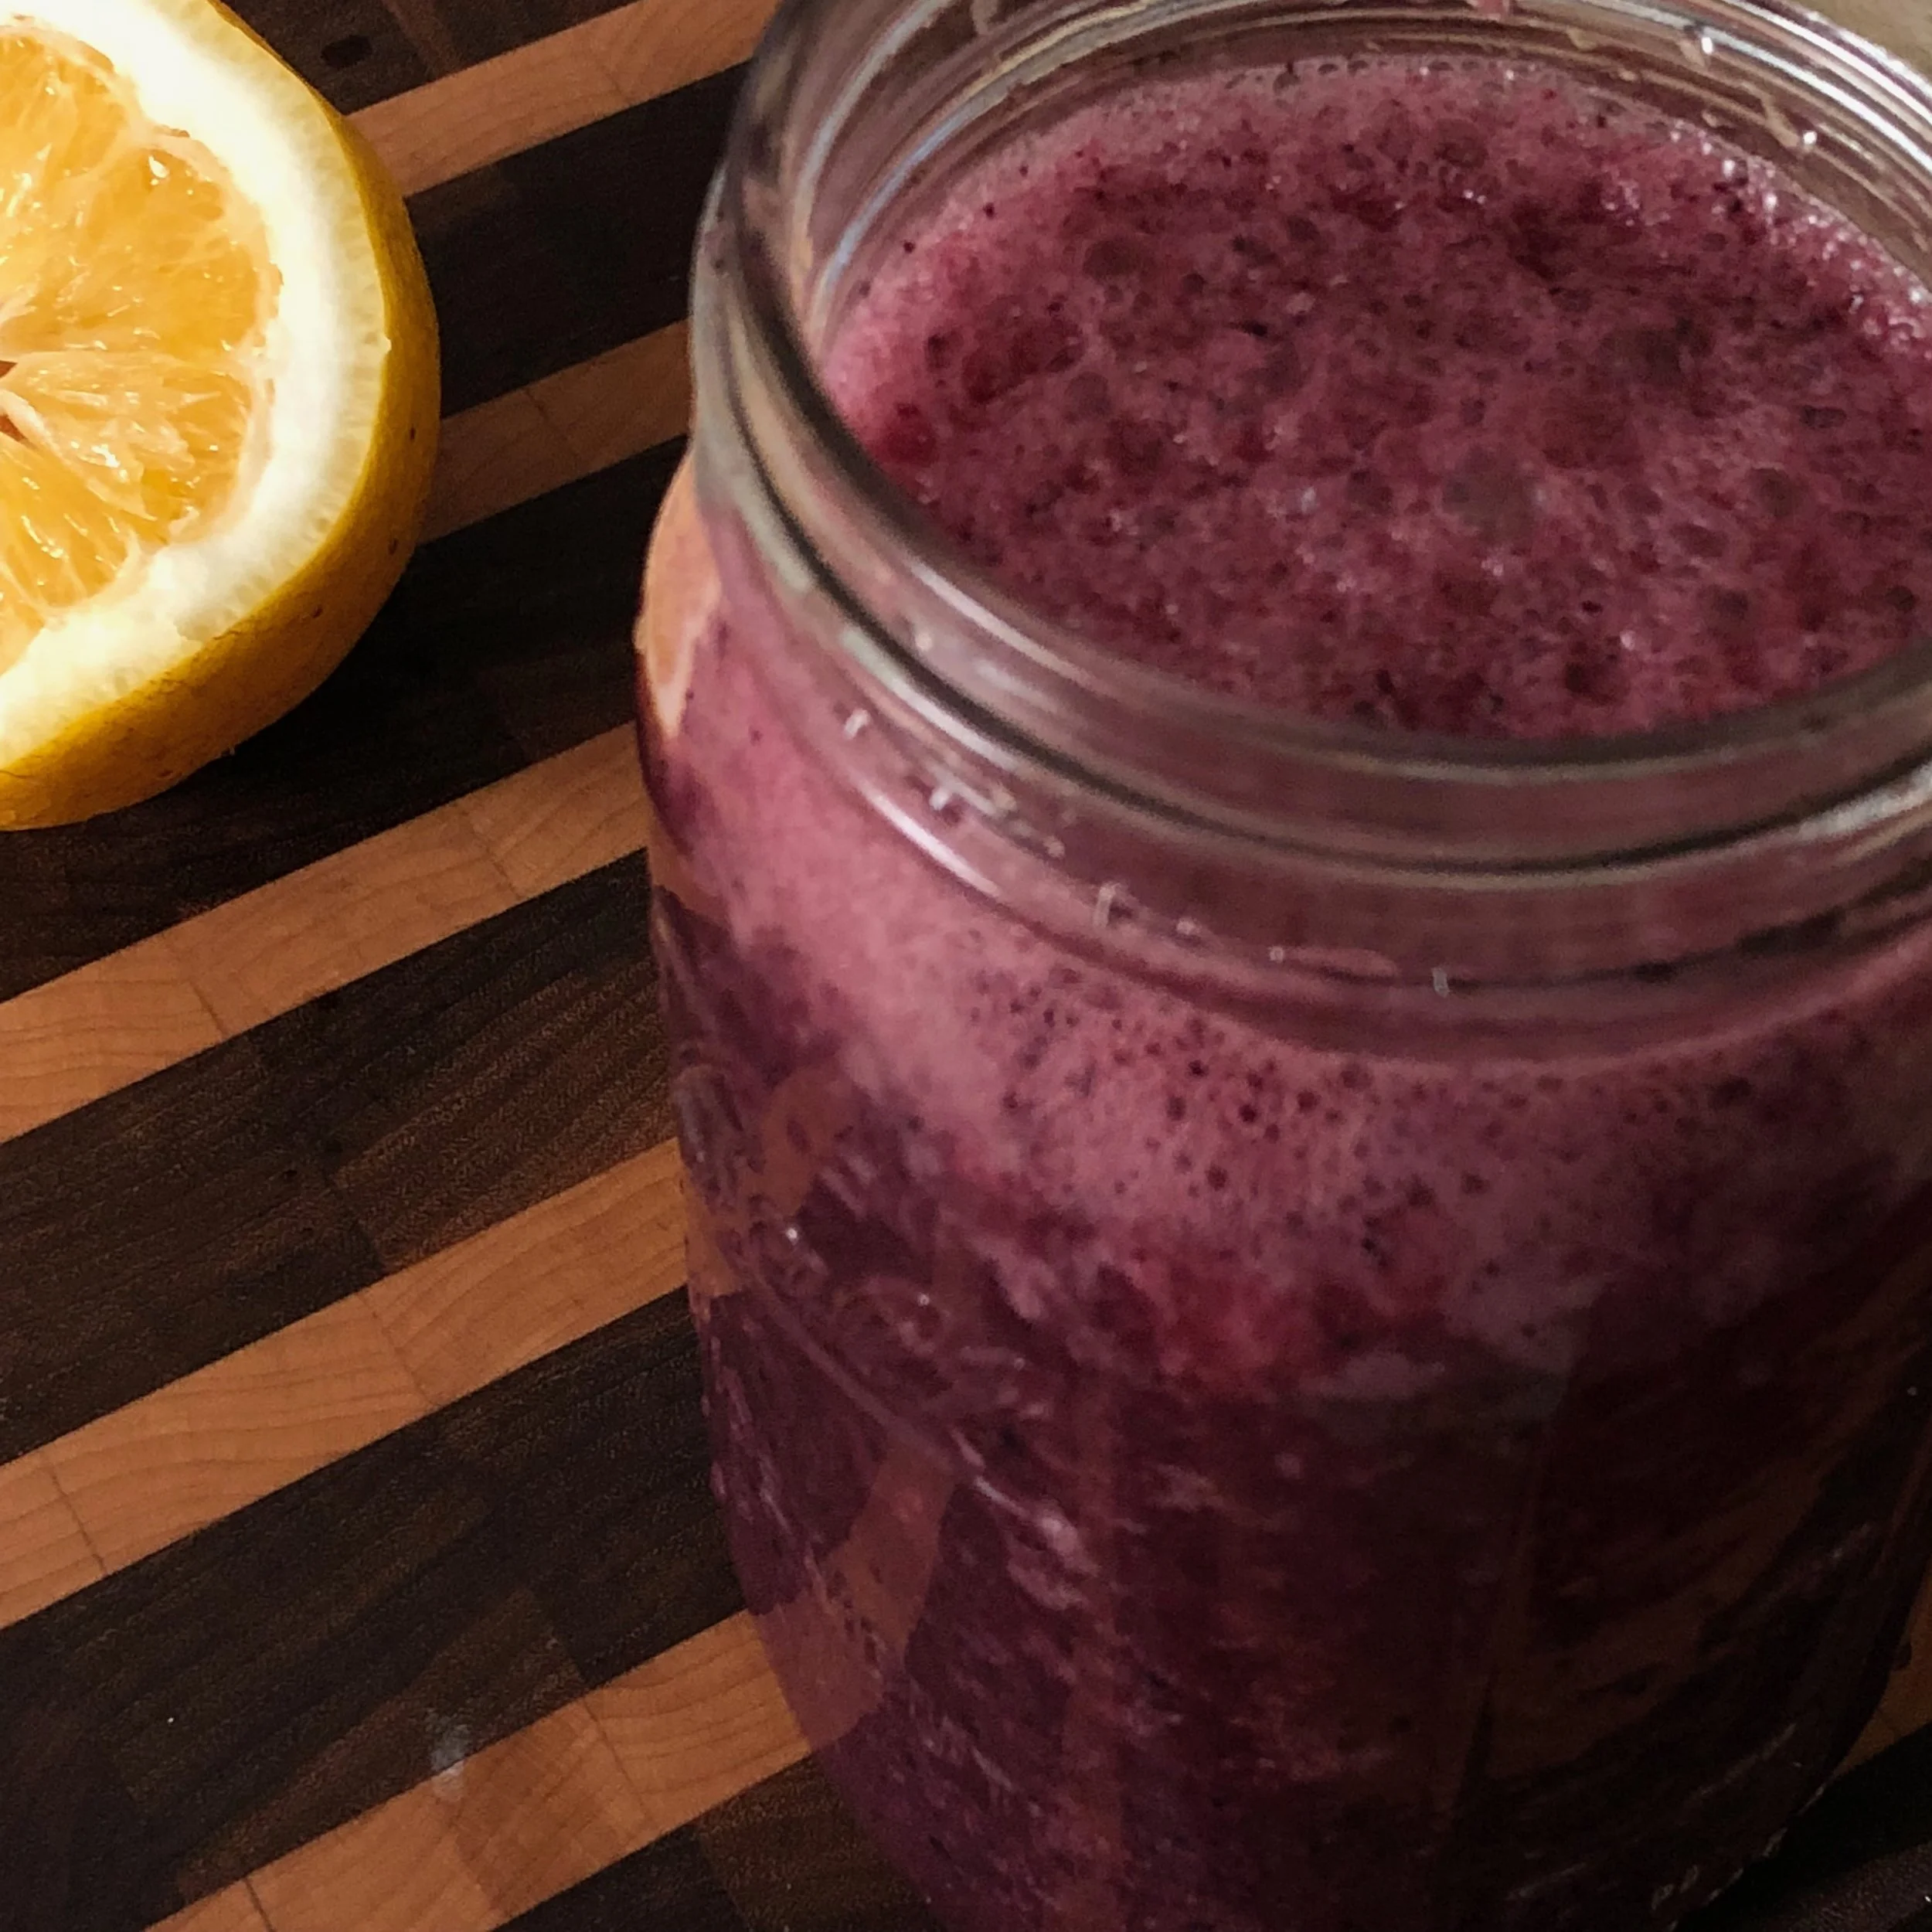
Homemade grape juice is shockingly easy to make. It requires just three ingredients: grapes, citrus and water.
First, procure a good source of fresh grapes. The grapes should preferably be organic, the redder the better, with seeds, skins and even small pieces of stem. The variety doesn’t matter. I’ve used Concord, Thomcord (a hybrid of Thompson seedless and seeded Concord), Scarlet Royal, Autumn Royal, Thompson and Flame.
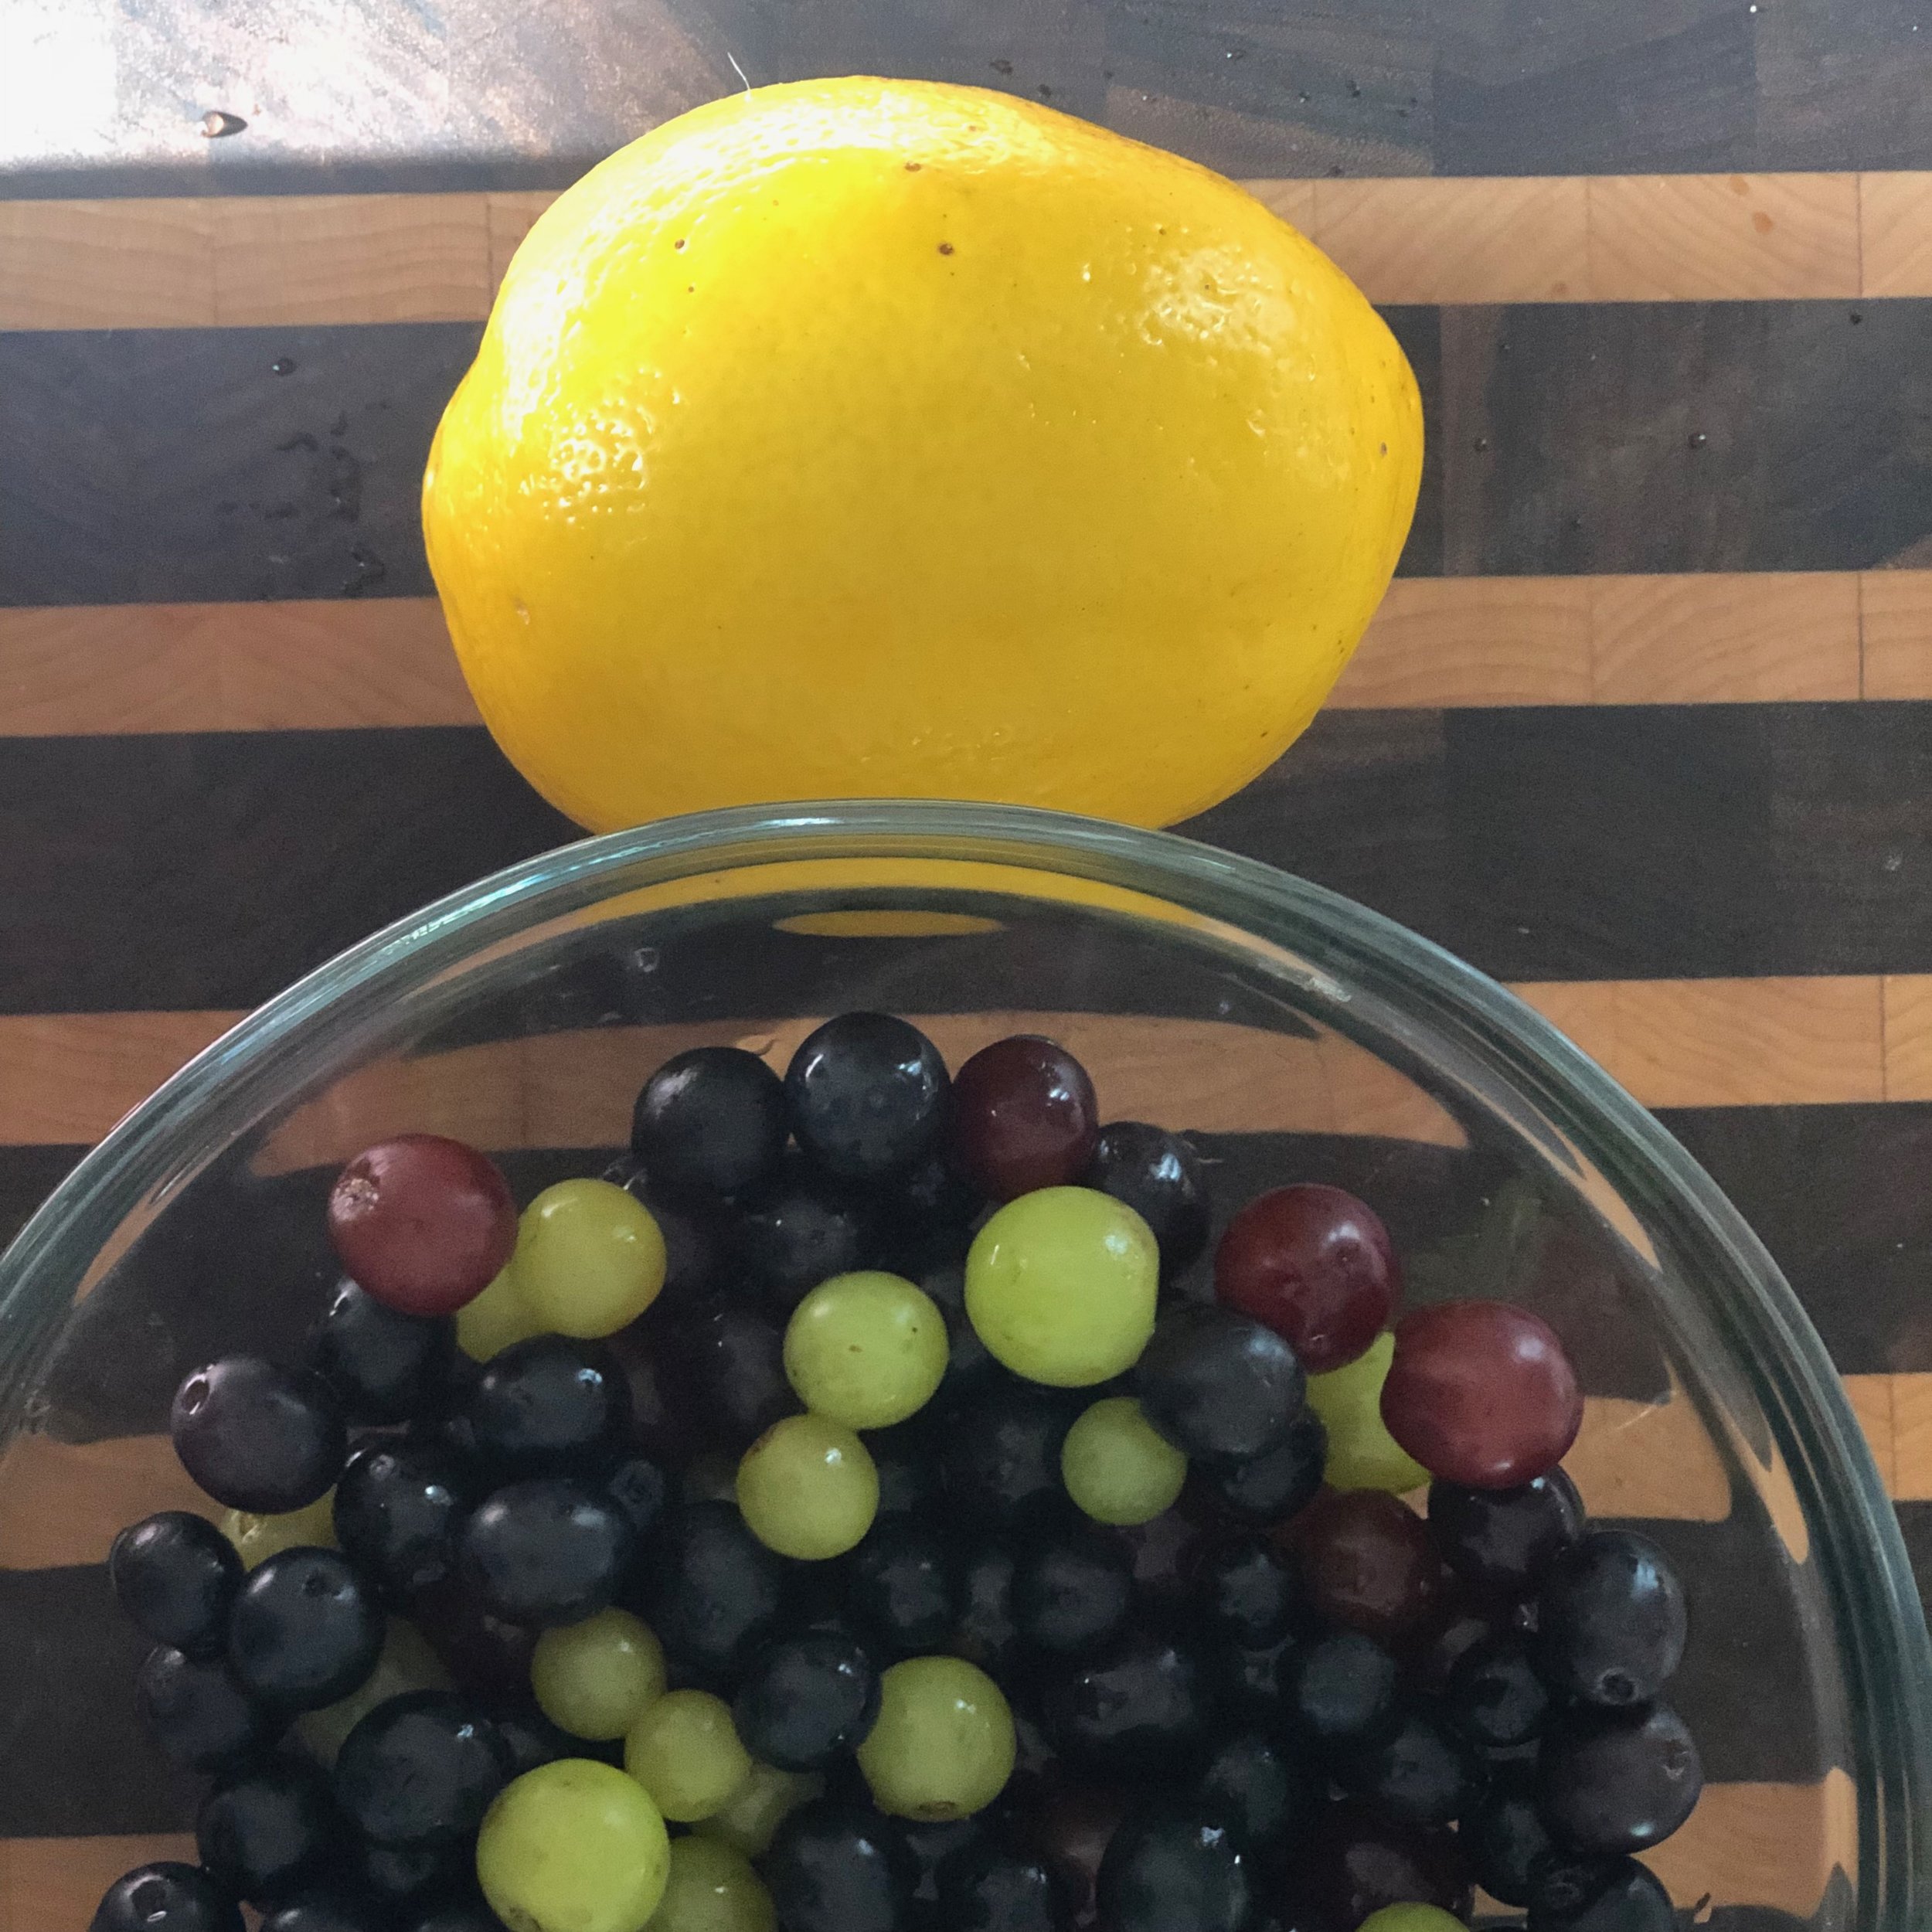
Wash about 1.5 pounds of grapes well in a glass bowl to remove all the dirt, then add the grapes to a 64-ounce high-speed blender container.
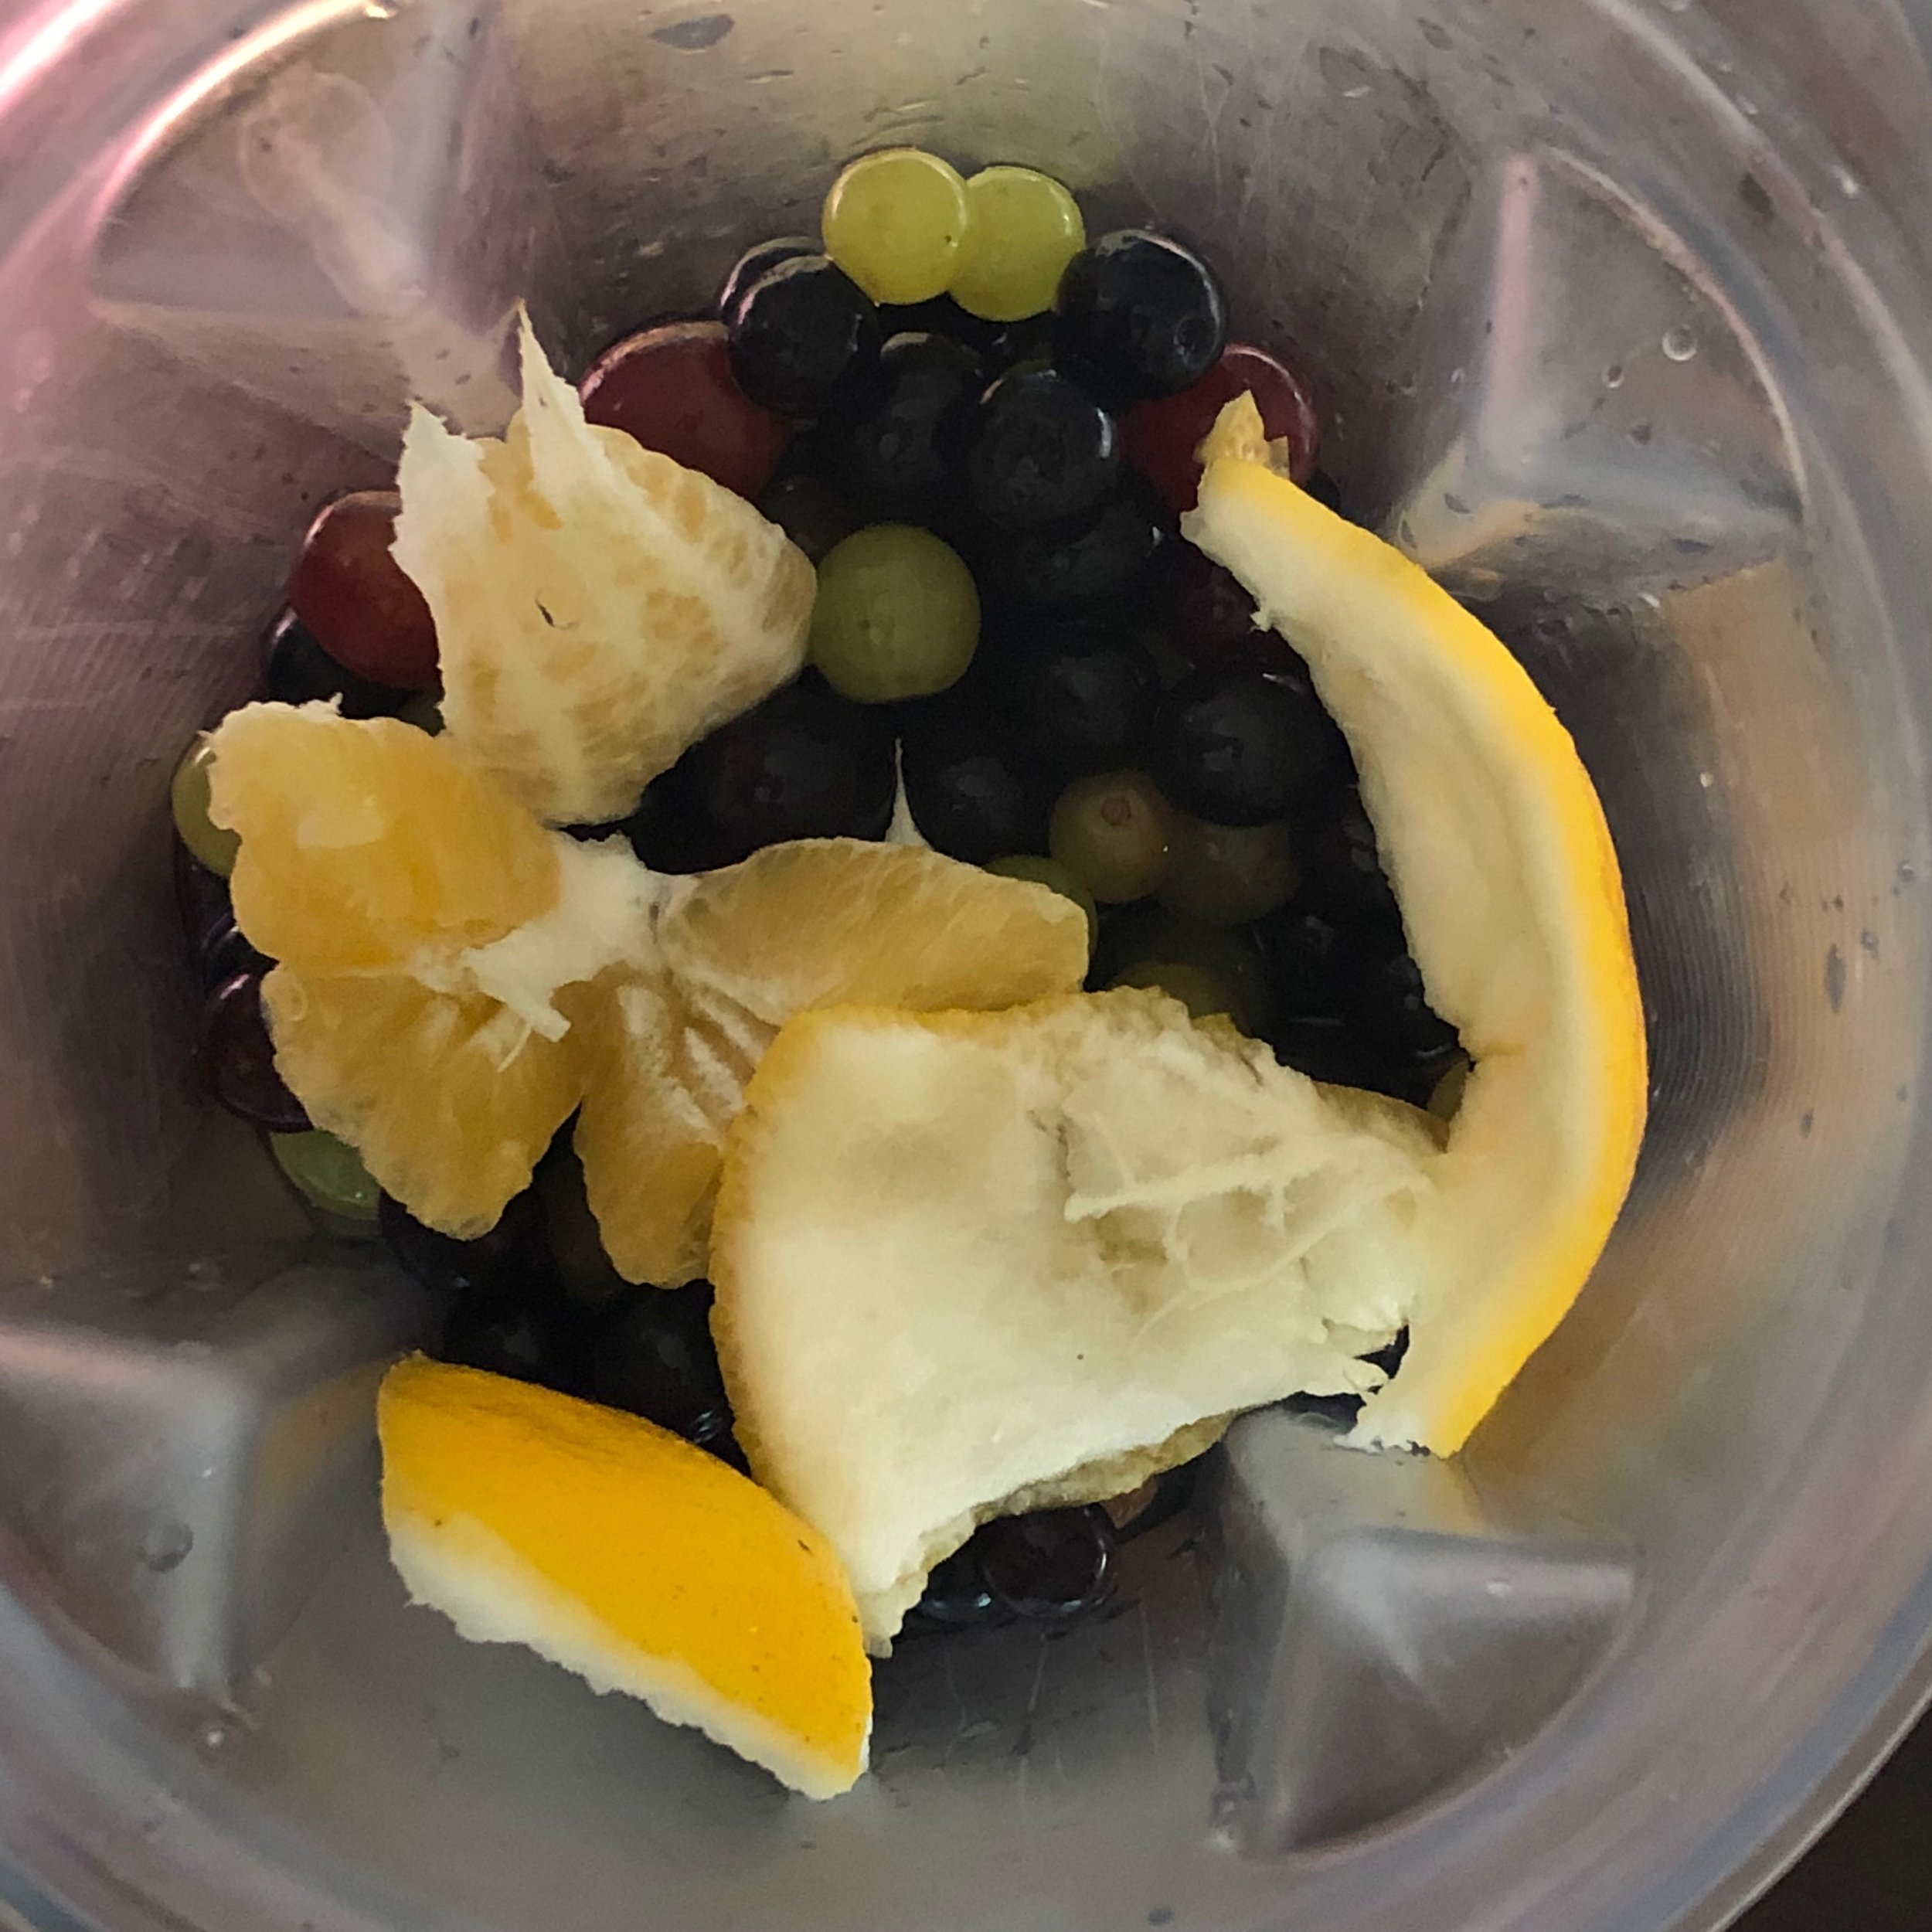
Toss in a Meyer lemon (preferably organic, because you will use some rind). This adds flavor and retards oxidation. Rinse the lemon well, then cut a 1/8-inch-thick slice and toss (rind and all) into the blender with the grapes.
Throw 1.5 cups of filtered water into the blender. The water dilutes the grapes so they aren’t so shockingly sweet. The water also makes the juice go a lot further.
Run the blender on high for 45-60 seconds.
Homemade grape juice requires just three ingredients:
1.5 pounds grapes (washed well)
A slice of Meyer lemon (with rind)
1.5 cups filtered water

Homemade grape juice is a guilty pleasure. Your family will love it. It will taste delicious, refreshing and fruity. And the blessing before the wine on Friday night and Saturday afternoon – “Blessed are You, L-rd our G‑d, King of the universe, Who creates the fruit of the vine” – will be more meaningful.
Have you ever made your own grape juice at home? What's your favorite grape juice blend?
Revised on September 17, 2020

ACTIVE PREP TIME: 10 MIN TO MAKE MILK
PASSIVE PREP TIME: 8 HRS TO SOAK NUTS (OVERNIGHT)
Every person wants to have enough energy, not get sick too often and maintain optimal functioning of the body. Unfortunately, most food in the typical Western diet – packaged foods, high-calorie, high-sugar, low-fat foods, drains the body of energy and builds toward disease. On the other hand, nutrient-dense, life-sustaining whole foods boost energy, optimize bodily function and heal the body, thus building toward health. In my own experience, I lost 20 pounds, my sinus issues became manageable, the seasonal allergies became a minor nuisance and my energy began to return.
One small example of what changed is that I stopped drinking cow’s milk about 6 years ago, gave up the heavily processed Blue Diamond and Silk almond milks and began making my own almond milk.
Homemade almond milk is a refreshing drink to start the day. It doesn’t raise blood sugar. It is far less inflammatory than dairy. It contains the following vitamins and minerals:
High amounts of calcium, iron and magnesium, potassium, a bevy of B-vitamins and Vitamin C
Vitamin D, which helps in reducing and maintaining blood pressure
Vitamin E, an antioxidant that maintains skin health, fights free radical damage and slows the aging process
Almonds also help lower cholesterol naturally while increasing levels of “good” HDL cholesterol. And, if you add fresh turmeric root to it – this is called Golden Milk – it can play a major role in decreasing inflammation.
But a nutritional lesson on the benefits of drinking fresh almond milk is not convincing enough to just write about. It is best explained by actually doing it.

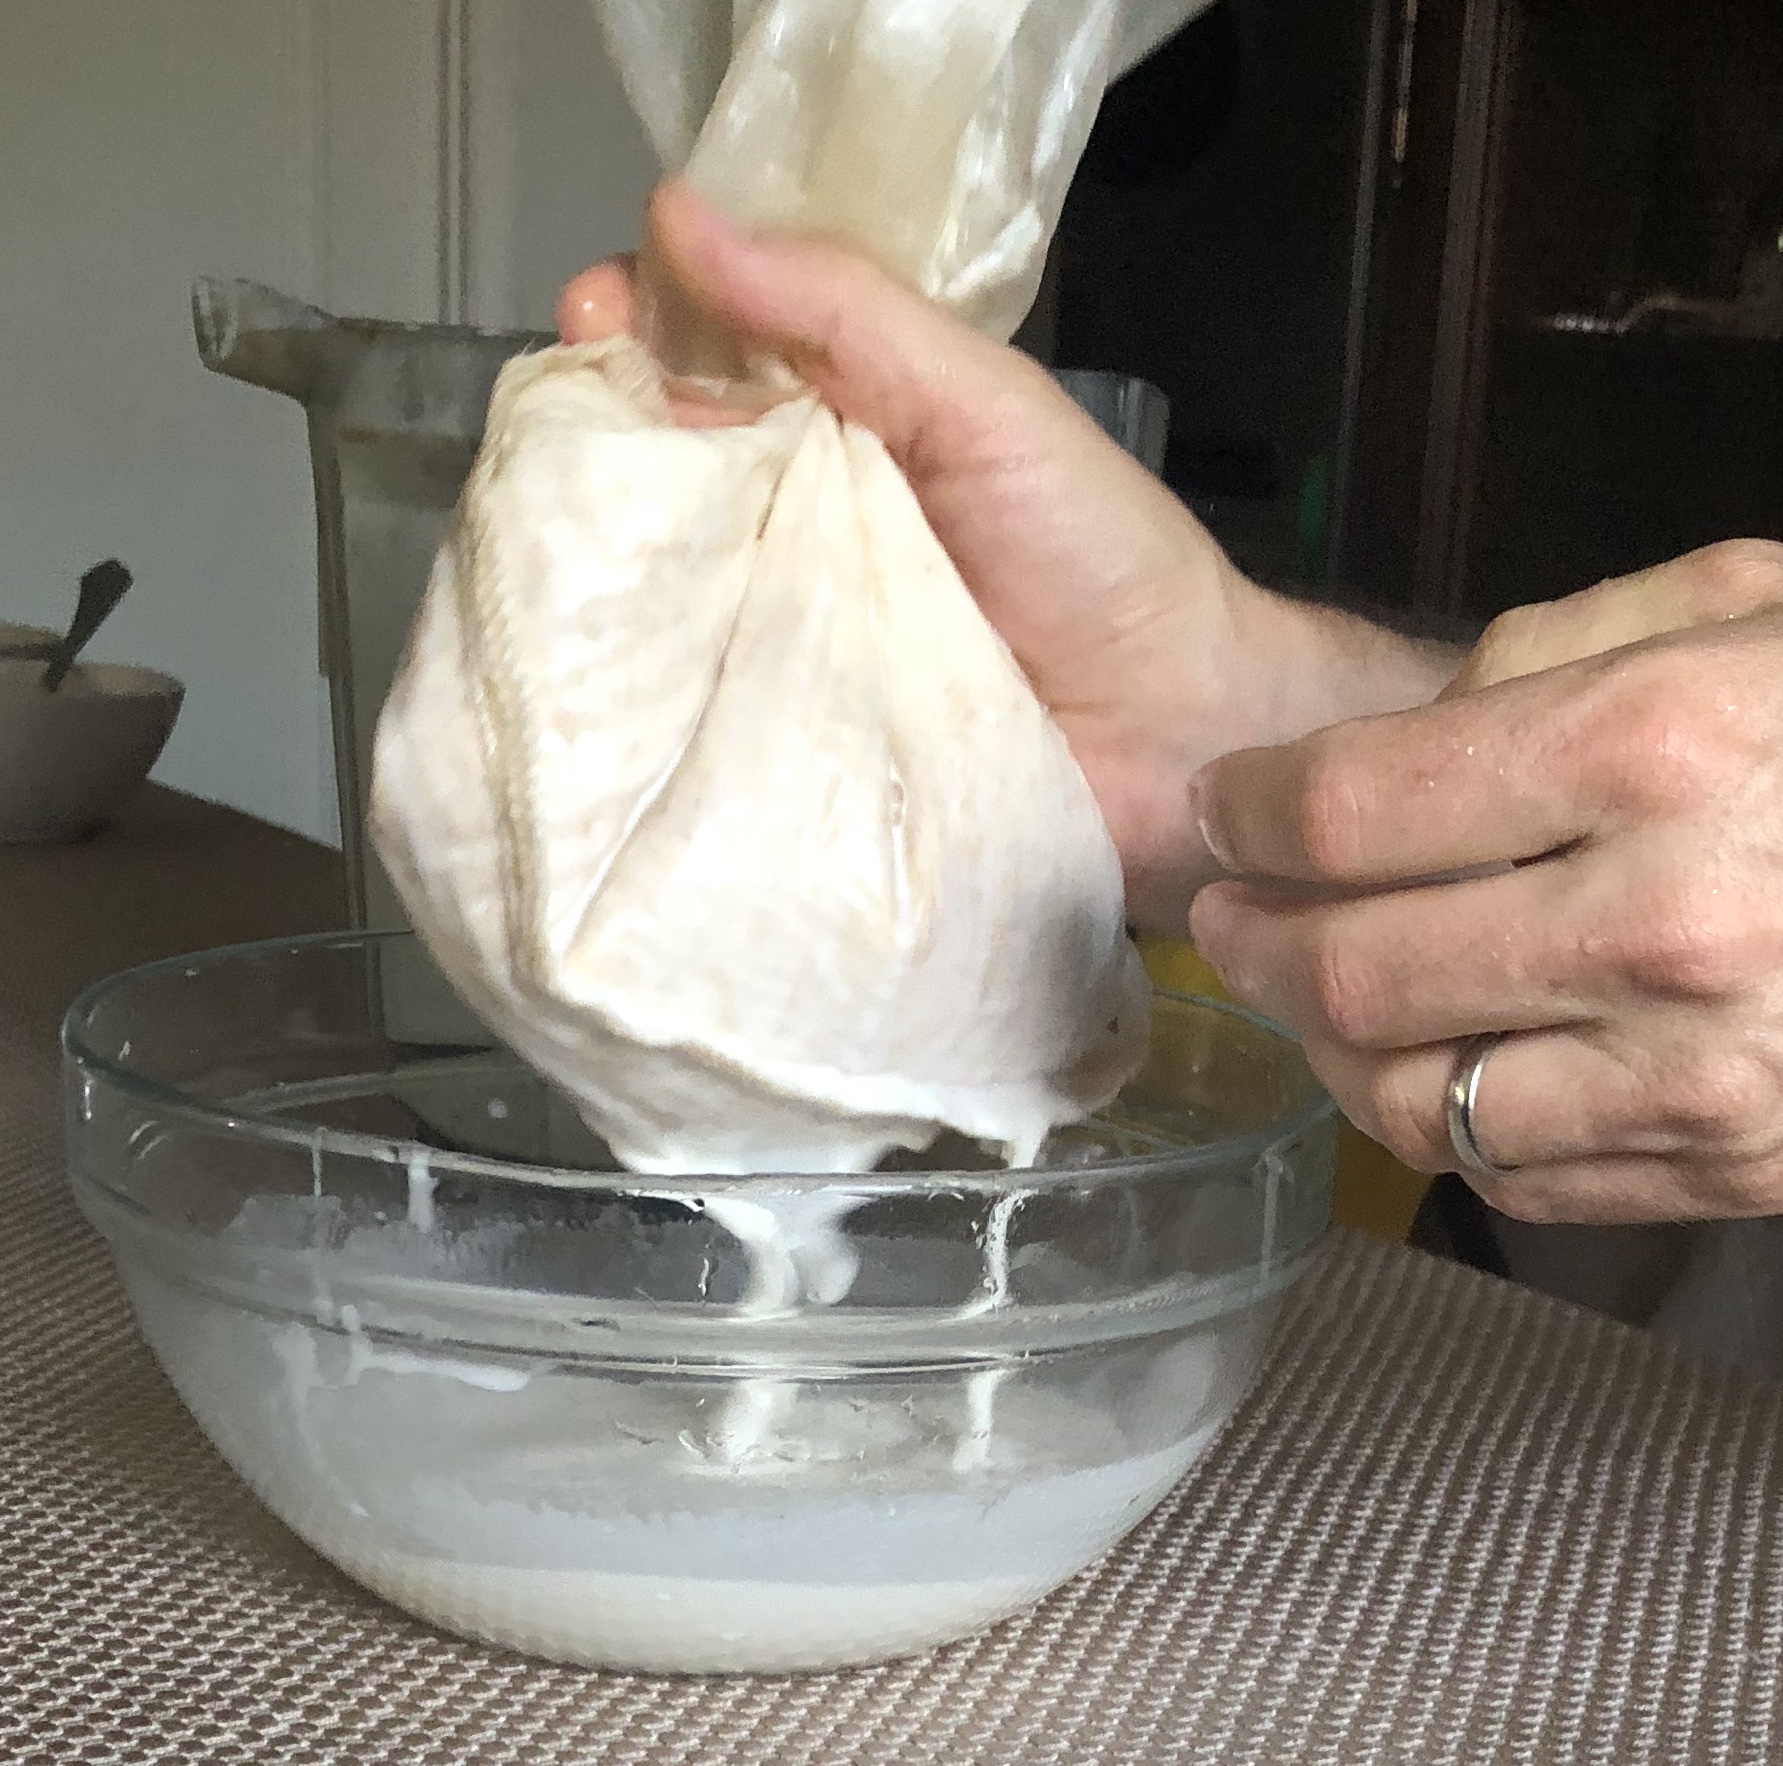
There are five steps to making this delicious beverage at home.

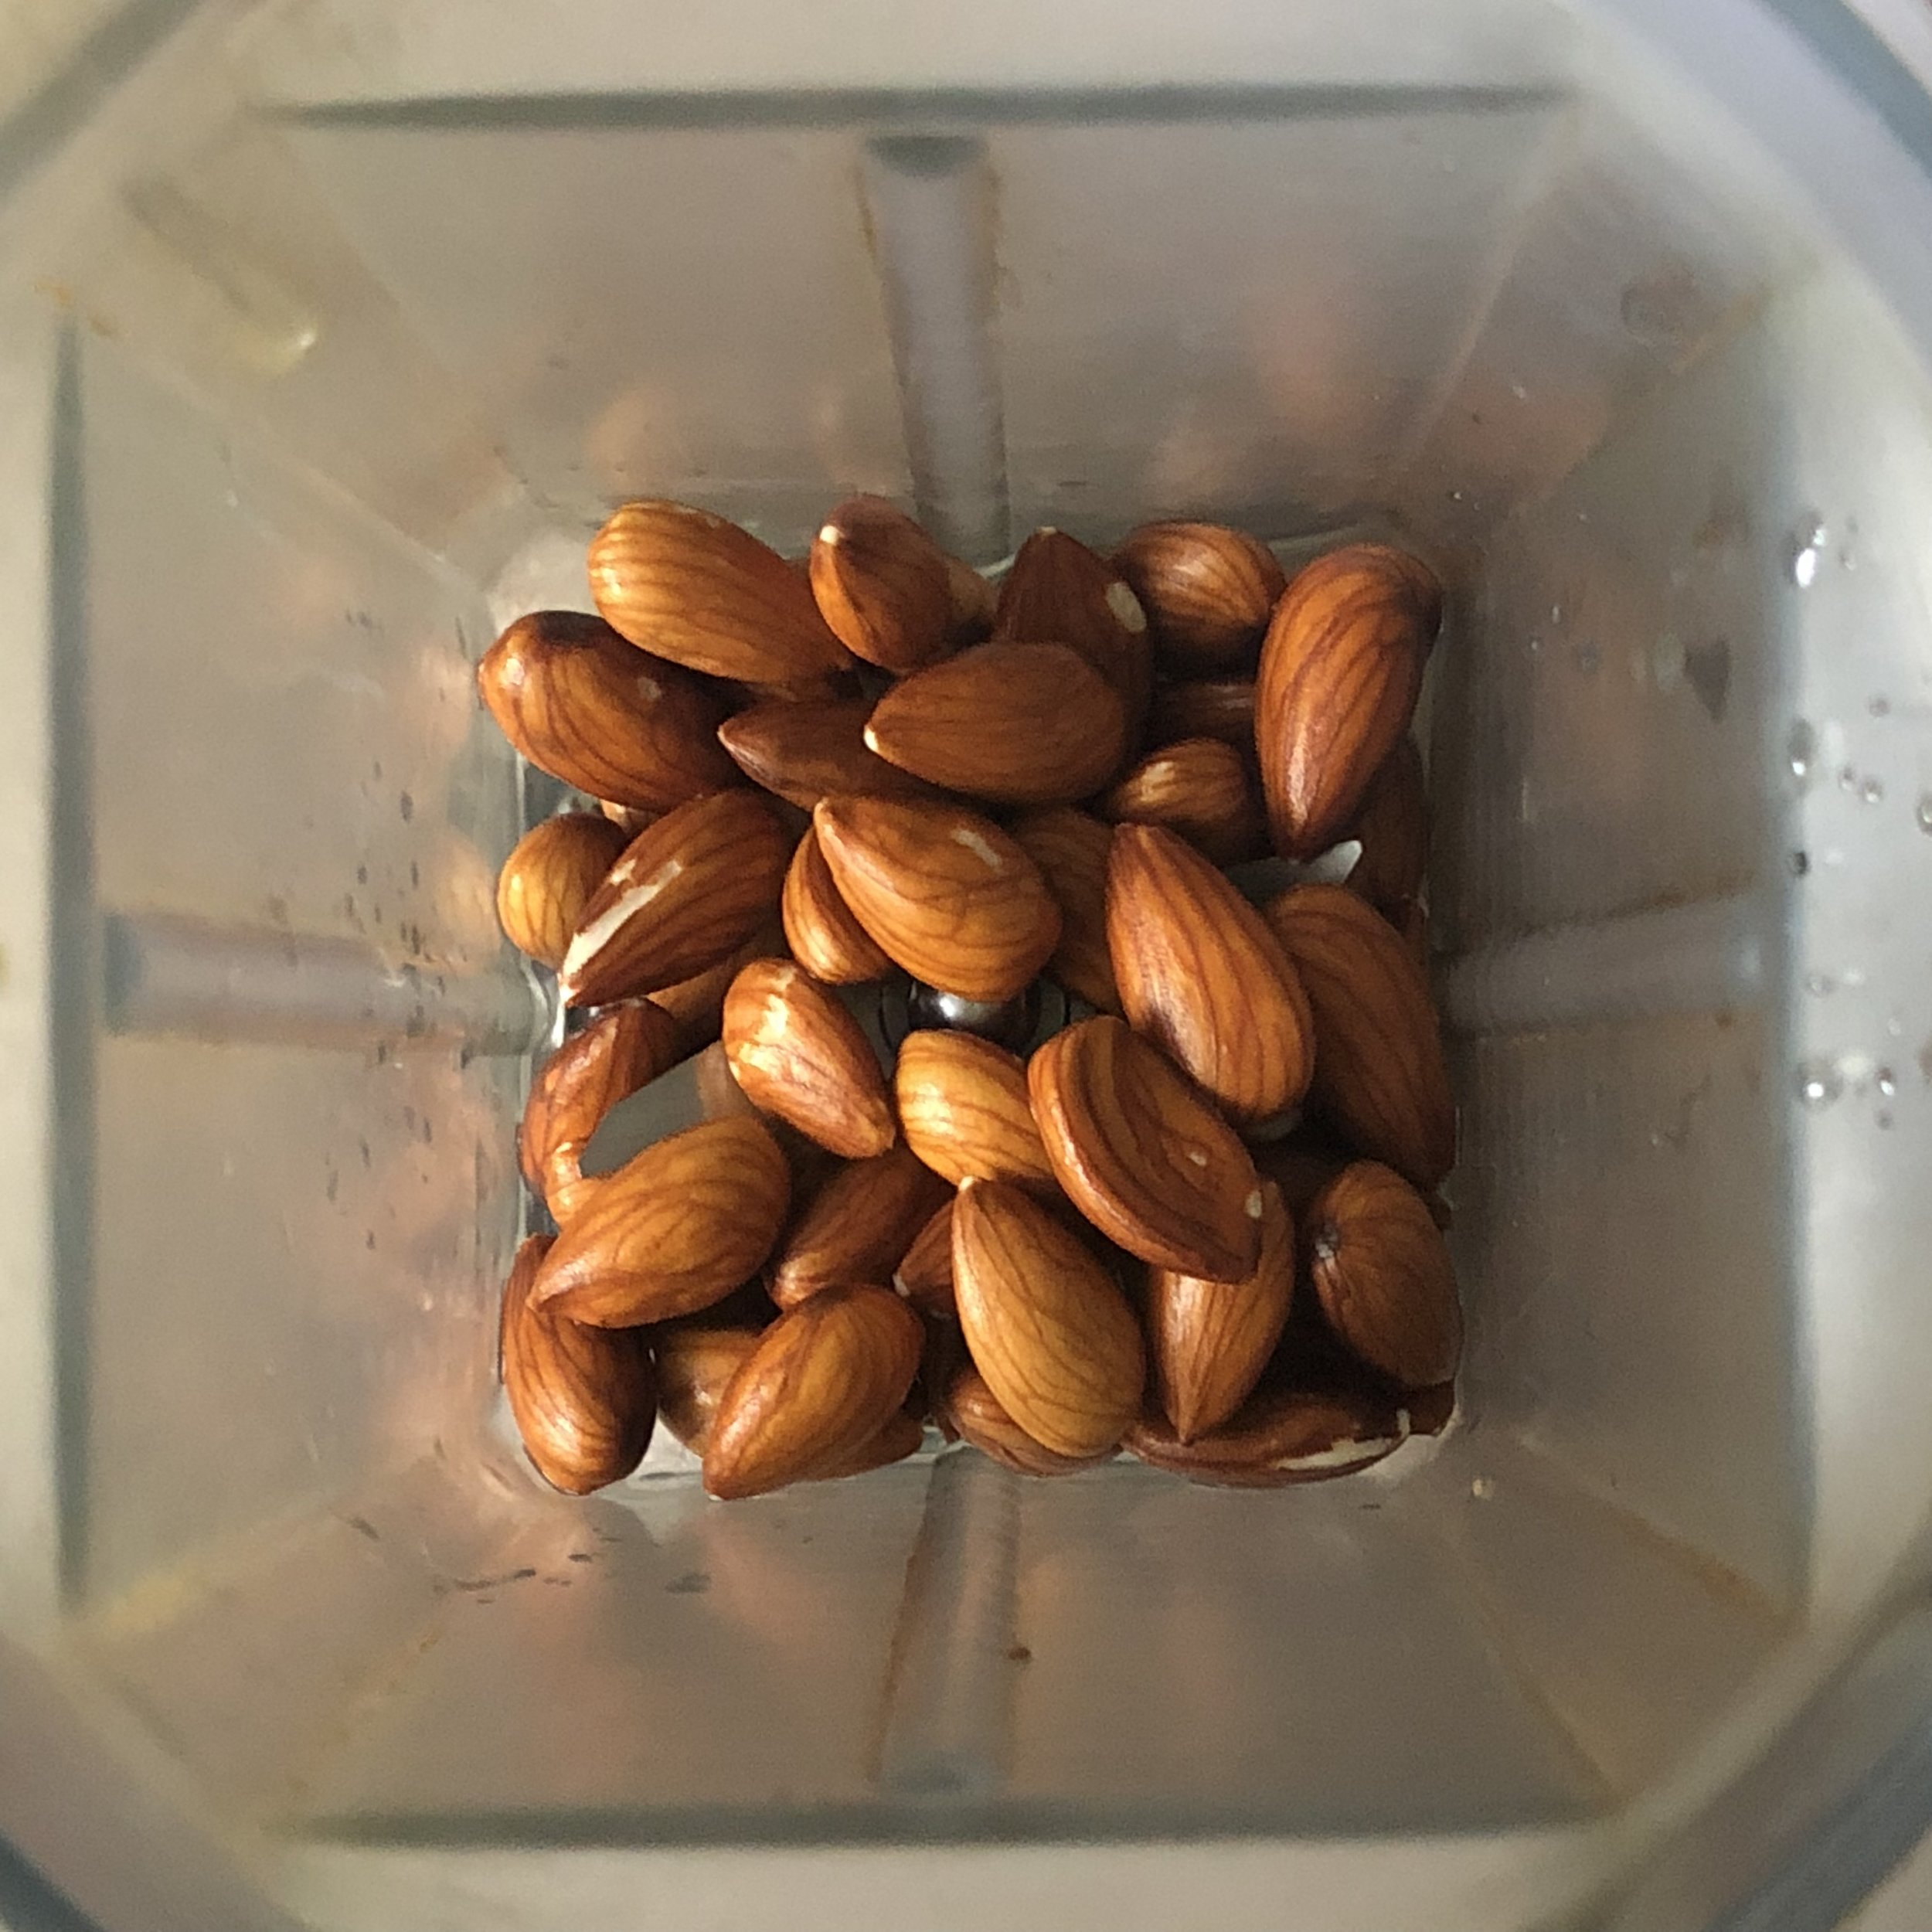
First, soak 1 cup of the nuts. Preferably use raw and unpasteurized almonds. I purchase mine from the Sunday morning Farmer’s Market on Larchmont Blvd in Los Angeles. The purpose of soaking them is to remove the phytic acid, an anti-nutrient that binds to certain minerals and slows their absorption by the body.
Second, Discard the soaking water and rinse the almonds at least twice, making sure to shake well each time.
Third, add 4 cups of water and blend on the highest setting for 60 seconds. A high-speed blender such as a Vitamix or a Blendtec work best.
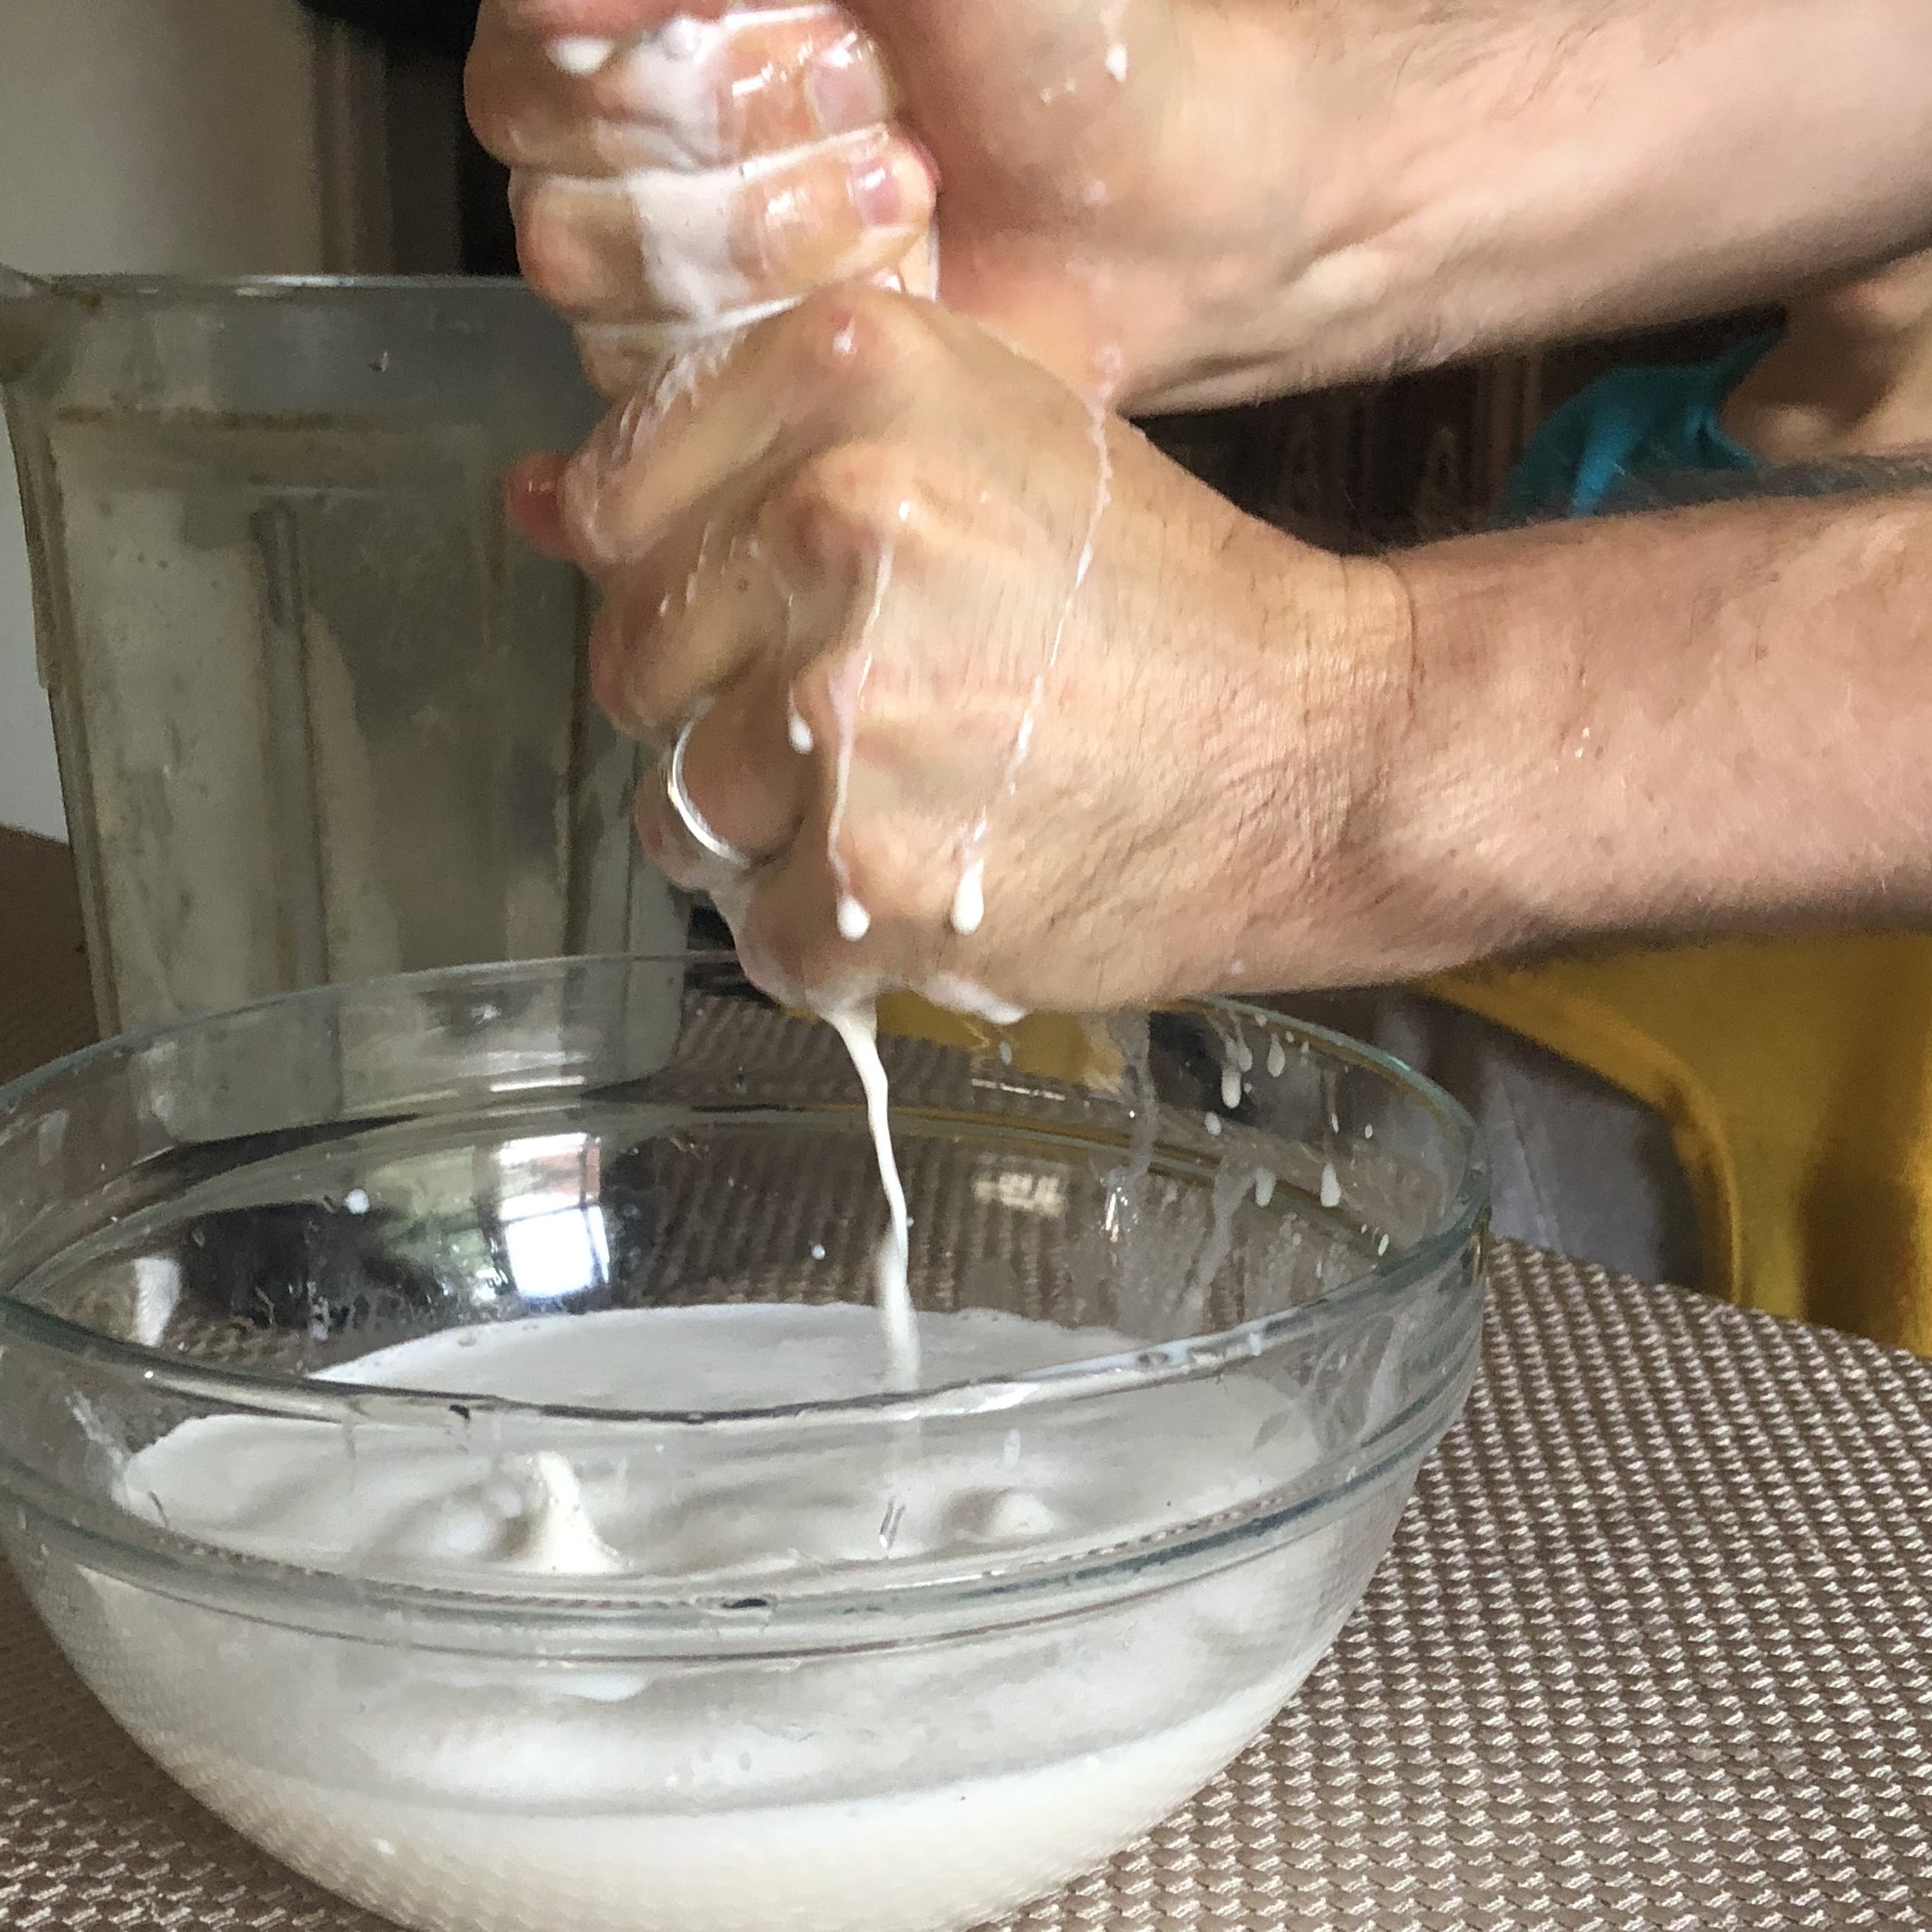
Fourth, strain the milk and set aside the pulp. Although the pulp is very nutritious and hearty, it does not play well in breakfast cereals, smoothies or coffee.
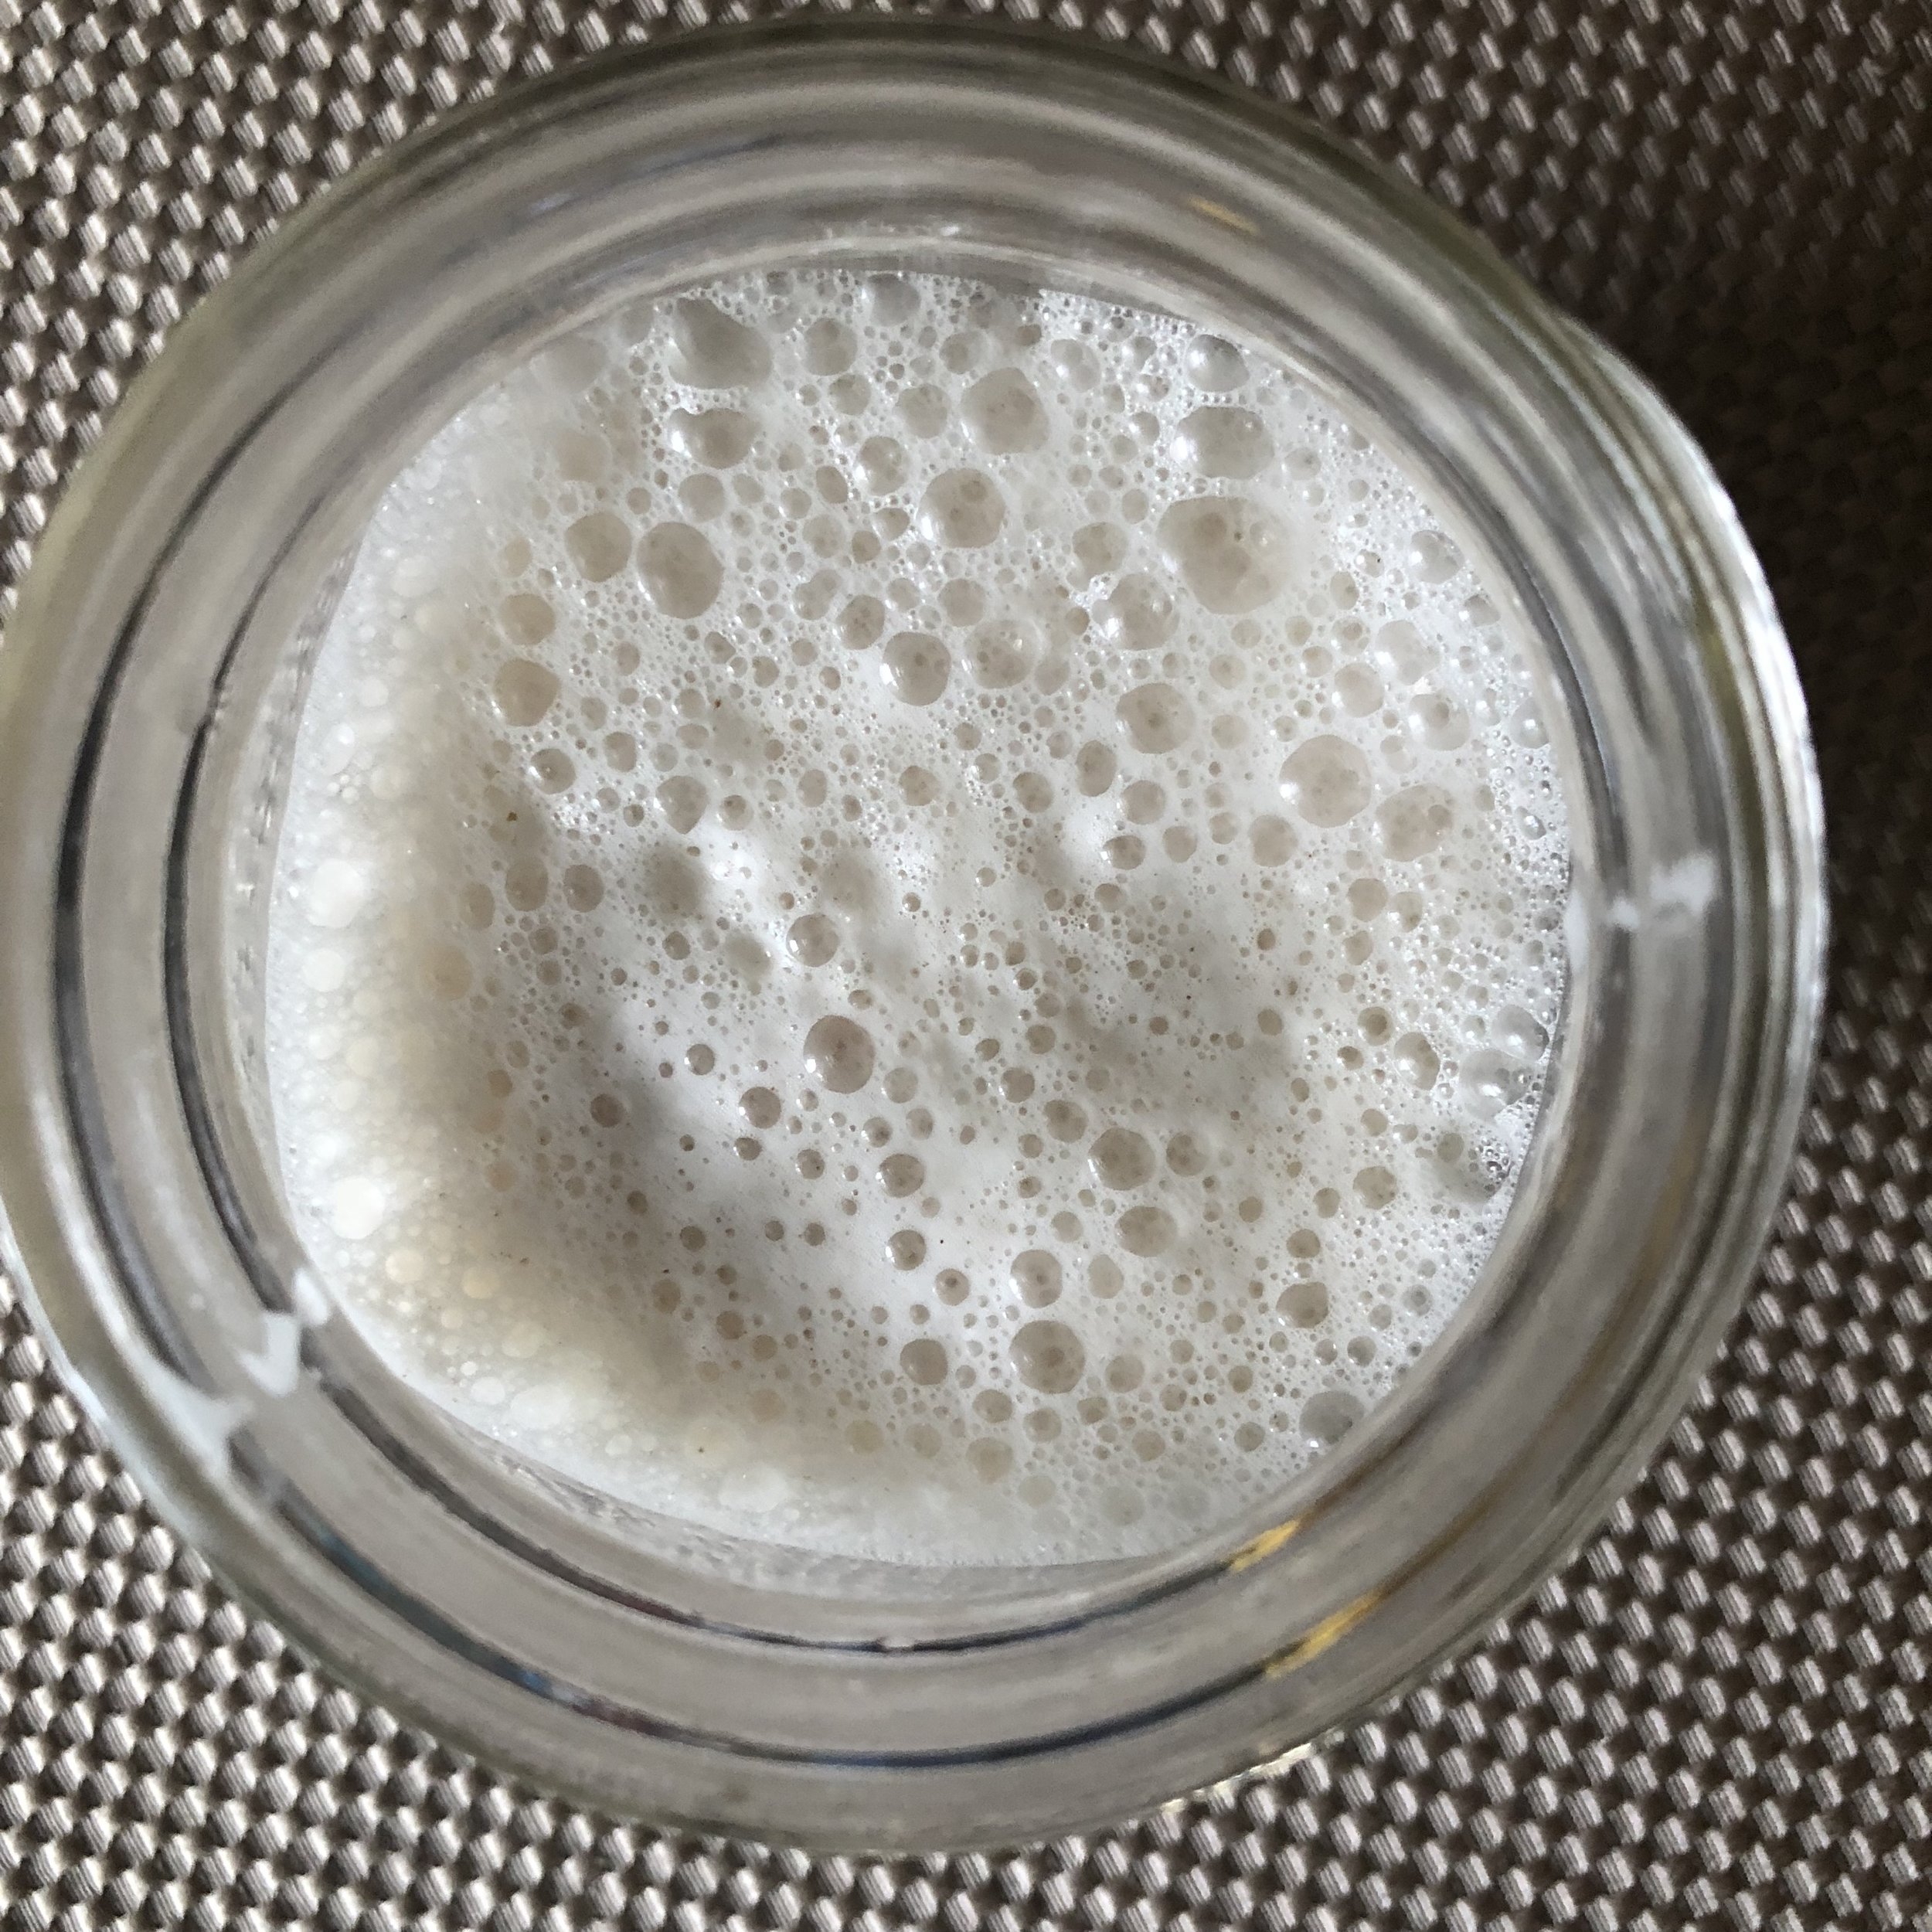
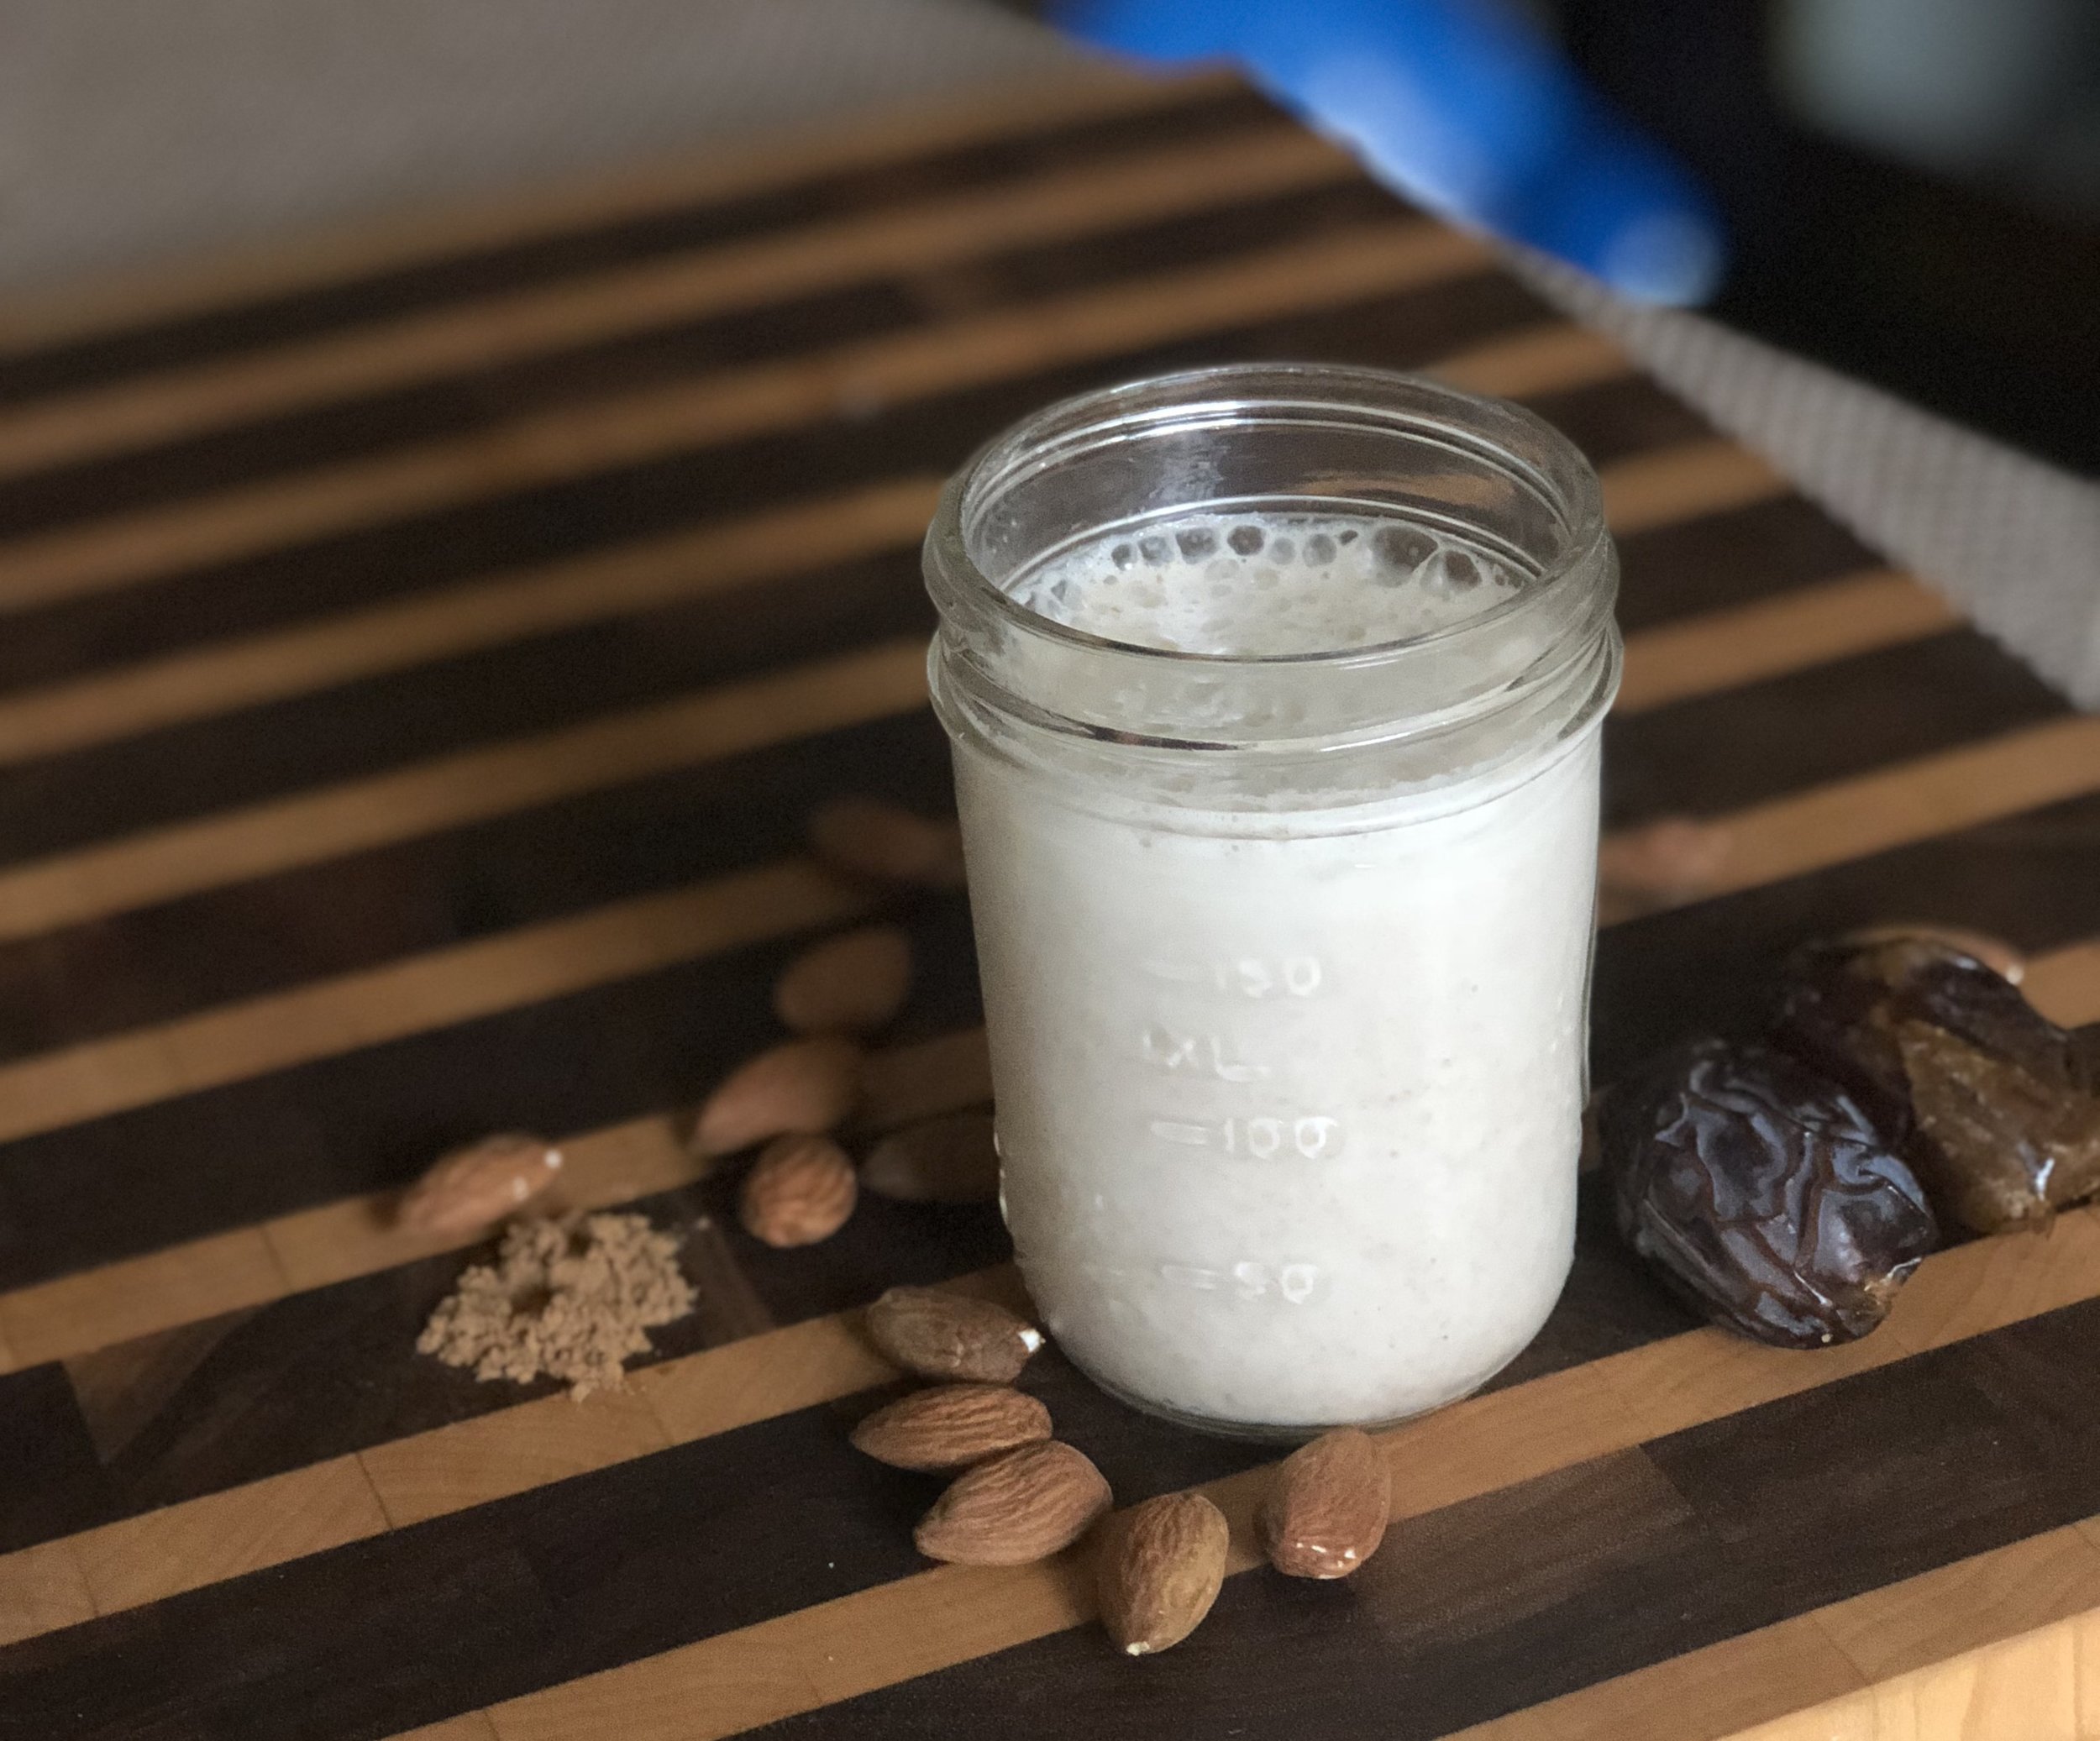
Finally, add 2 Medjool dates, 1/8 tsp salt and a teaspoon each of vanilla extract and cinnamon to the filtered liquid. Spin it up again for about 20 seconds. [If you are making this for Passover, you can swap out the vanilla extract (as it’s prohibitively expensive) and add some extra cinnamon. You can also grind your own cinnamon, which is incredibly pungent.]
1 cup raw, unpasteurized organic almonds
4 cups filtered water
1 tsp organic vanilla extract
1 heaping tsp Ceylon cinnamon
2 Medjool dates
1/8 tsp sea salt
I want to close with a quote that really speaks to me about the process of making your own food. Author Michael Pollan, in his book “In Defense Of Food”, writes that “to reclaim this much control over one’s food, to take it back from industry and science, is no small thing; indeed, in our time, cooking from scratch and growing any of your own food qualify as subversive acts.”
Take back your food from the industry! Make it from scratch. Your body and your mind will thank you.

Kosher food can be both tasty and nutritious. It need not be filled with cheap refined carbs, sugar, salt, preservatives or filler. The purpose of Consciously Kosher is to teach people how to eat a kosher diet rich in nutritious, predominantly unprocessed whole foods. The recipes and meal hacks are simple and quick, to accommodate parents juggling careers and multiple kids.
Articles | Nutrition | Health & Wellness | Recipes | Workshops
Consciously Kosher © 2023 Michael Tanenbaum